Laptop Sleeve Sewing Notes
I want to make a simple quilted laptop sleeve for my computer. I have watched a few tutorials to get the general idea of how to make one. For example, here is a reasonable quilted zipper top one.
I am not sure exactly which version I would like to make. I know I want to do something quilted/padded, but I might try a few different construction methods to see what I like best. I might also experiment with different sorts of closure methods. Zippers have advantages I guess but for my purposes I think velcro or a button would be fine too. Maybe I’ll start with one of those. There is no rush to do the perfect thing, so I can always try some variants.
Dimensions
I have a 14 inch macbook pro which measures 12.5” wide by about 9” long (and maybe 0.5” tall). I am not sure exactly how much bigger it is ideal to make case. Maybe I’ll start by adding 1.5” in both directions. It depends on how the seam allowances will be. I guess I will stick with 1/4”.
So I need to make rectangles of fabric that are 14” by 10.5”. For my first try, I will do a version of what she does in that tutorial. I will make layers of: (1) exterior (denim), (2) batting, and (3) interior fabric (cotton) and quilt them. Then I will sew on the zipper, top stitch, and then do the rest of the seams. The only part I’m not too sure about the best way to do is how to do the zipper nicely.
First Pass
Here are the first pass results, made from the leftorvers of some old jeans, along with some patterned quilted cotton from my stash (the interior lining is the same as the exterior strip):
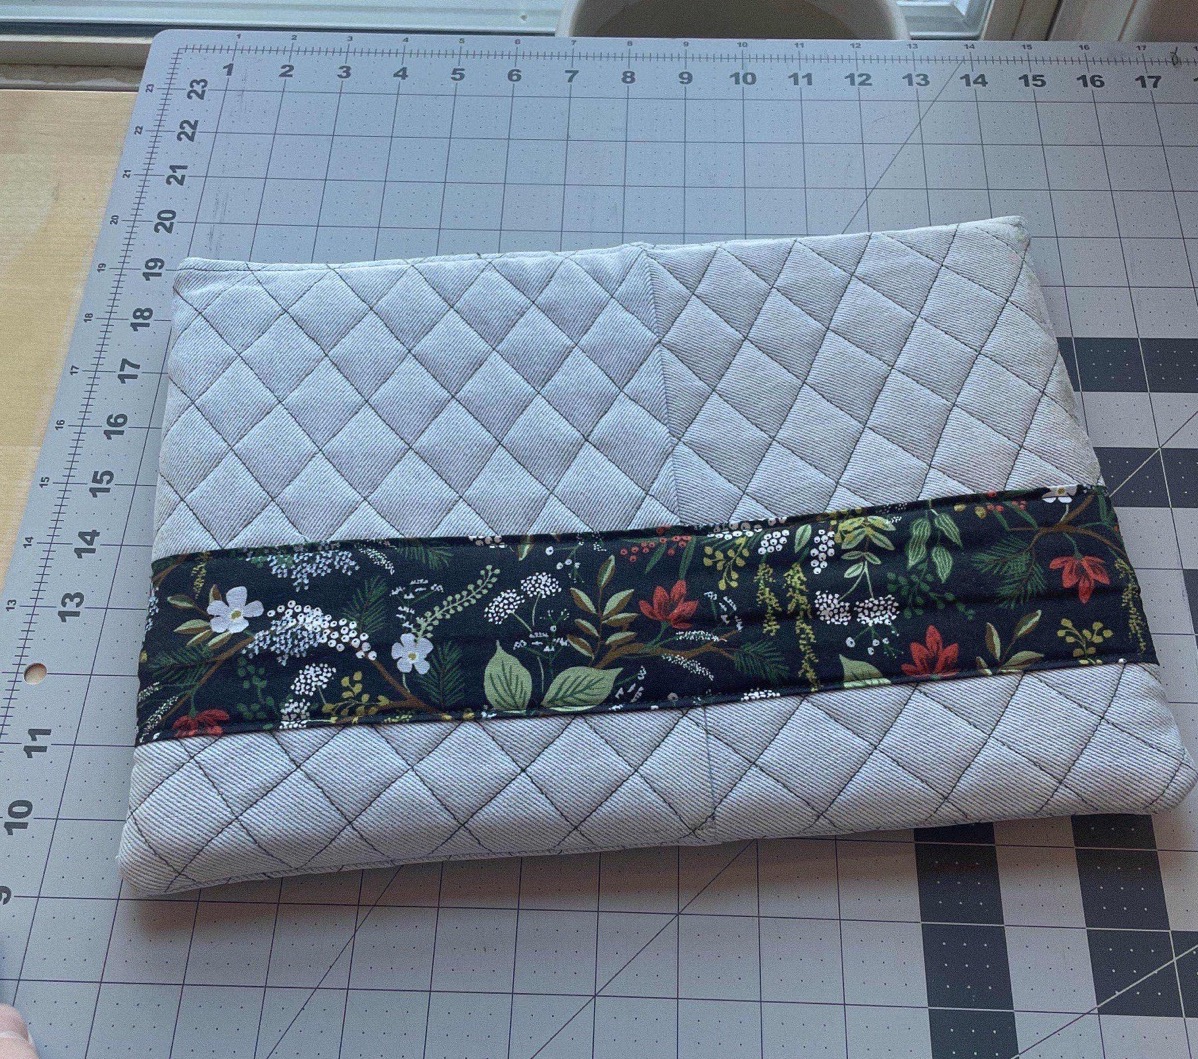
This version technically works, though is definitely a bit wonky and imperfect; I’m thinking of it as a prototype. A few notes to think about for next time:
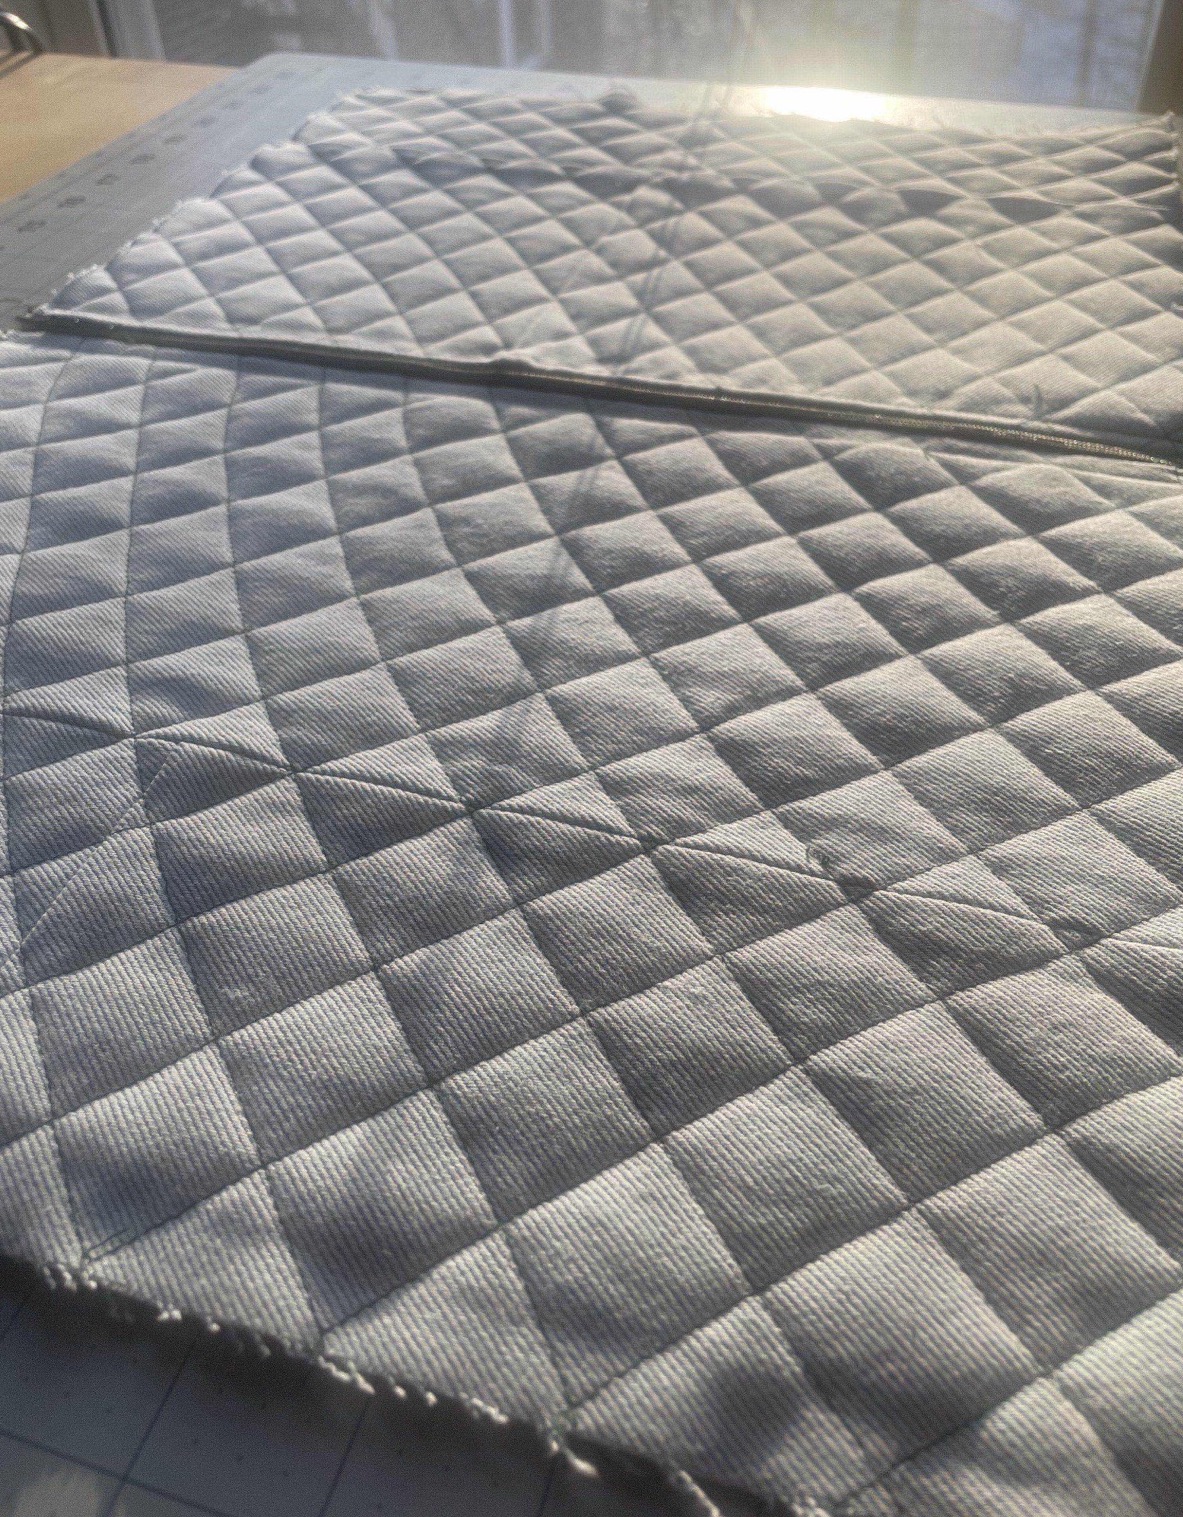
- I need to make it larger for my laptop size. Had struggles and it barely fits. So I should add more seam allowance.
- I didn’t bother finishing the seams inside for now, though I could potentially serge them or add binding. I’m worried about having enough space for the laptop.
- In general, there’s not a great way to finish the zipper seam though, so doing that differently would be better.
- Covering the big join seam with the outer bit of lining was decently nice. Pic before that below.
- I think that the only way to get the quilting lines really straight is to pre-draw them probably with a ruler. Maybe I’ll try that next time, though I don’t hink the curves and slight irregularities look too bad when taken all together. Part of the hand-made quality.
Next time I will try soemthing more like this instead, which has a better approach for doing the lining and interior seams I think.