Natural Dye Experiment
I enjoy sewing and always thought it would be interesting to try to dye my own fabrics to use in a sewing project. Natural dyeing has always seemed especially interesting; I like the idea of being able to collect materials from the natural environment–perhaps while on a bike ride–and then using them to dye fabrics for sewing. I recently met E who is an experienced dyer and we got to talking about natural dyes. I asked her if she would teach me about the process and she agreed! In this post I will document a bit about my first experiences learning about and experimenting with natural dyeing.
Learning at the Library
E suggested we start our conversation at the Cambridge Public Library, where we looked through some of their books on dyeing. I know very little about these processes, so it was fun to begin to get a taste. E taught me about some of the basic terms and concepts.
One thing I learned is that there is a key distinction between working with (1) animal/protein-based fibers vs (2) plant/cellulose-based fibers when it comes to dyeing. My understanding is that these different categories require different sorts of dyes/processes, and will yield different sorts of results.
I also learned that there is an extended process that is required to prepare a piece of fabric to be dyed. The key steps are scouring the fabric and mordanting. A bit about these:
Scouring is basically deep cleaning the fabric to prepare it. Some info is here. I don’t fully understand what is necessary here, but this is a more intensive process than standard washing. There’s lots more for me to learn about this.
Mordanting happens after that and is roughly about preparing the fabric to accept the dye. Some info is here. According to that reference:
Mordanting is the most important process of preparing fibers to accept color. A mordant is a mineral salt that fixes with the fiber allowing natural dyes to bond to it. For us it is the most important step to improve light and washfastness. Using a mordant helps to ensure the most durable and long-lasting colors. With the exception of indigo (as a vat dye, it does not require a mordant), this is not an optional step.
Browsing through the dye books, another thing I found interesting was the way that certain sorts of additives can massively change the ultimate color of a dye. One common additive (apparently) is iron. Iron can be used to “sadden” colors. From the books, it seemed like the colors can sometimes change dramatically in hue when iron is added as a modifier. E mentioned using rusty nails (sourced from the streets of Somerville?) as an iron source.
We discussed a few different possible dye projects we could try, and eventually converged on doing an experiment ice dyeing, which felt seasonally appropriate, given the winter weather. We decided to meet the following weekend to give it a try.
An Experiment in Ice Dyeing
The day we agreed to meet turned out to be one of the coldest of the year in Cambridge. It “felt like” -11 F on my morning ride to E’s, but it was manageable with lots of bundling up. There’s not too many days which are that cold in Cambridge.
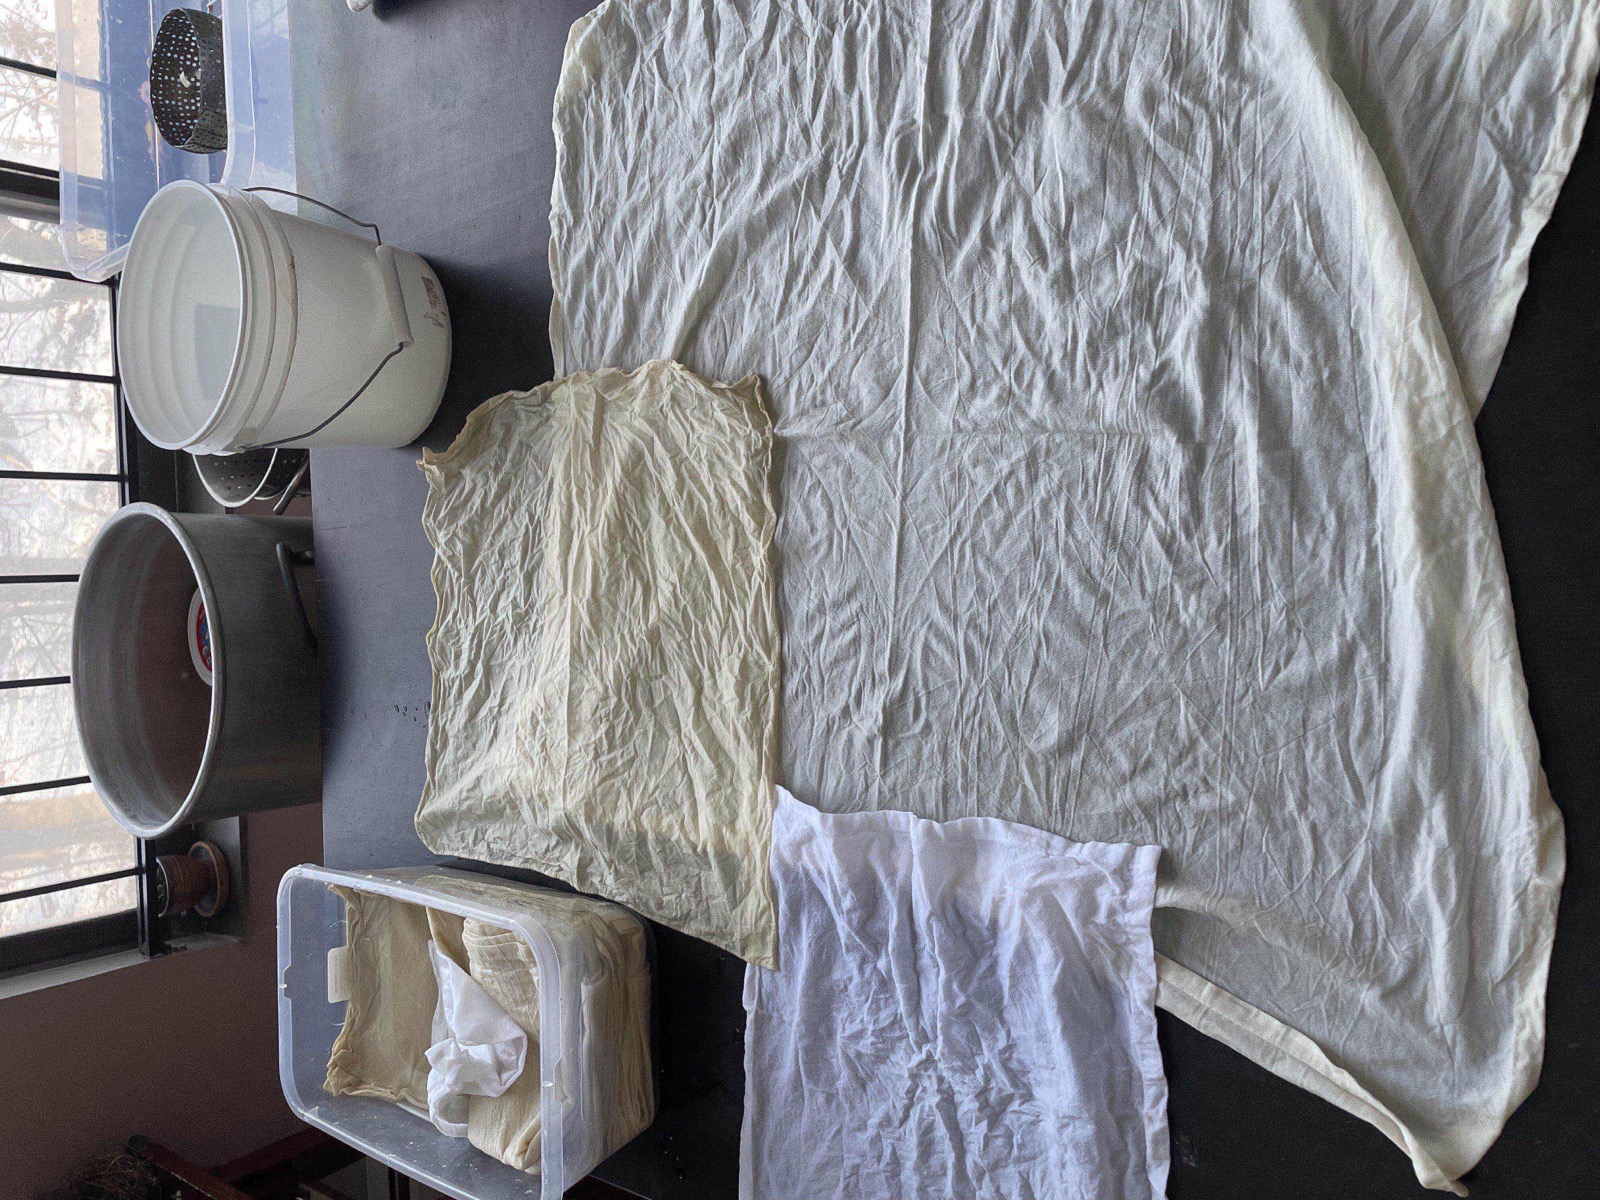
E had prepared a mix of different fabrics–a few bandanas and dishcloths–with a few different processes. The lighter piece here was not mordanted (I think).
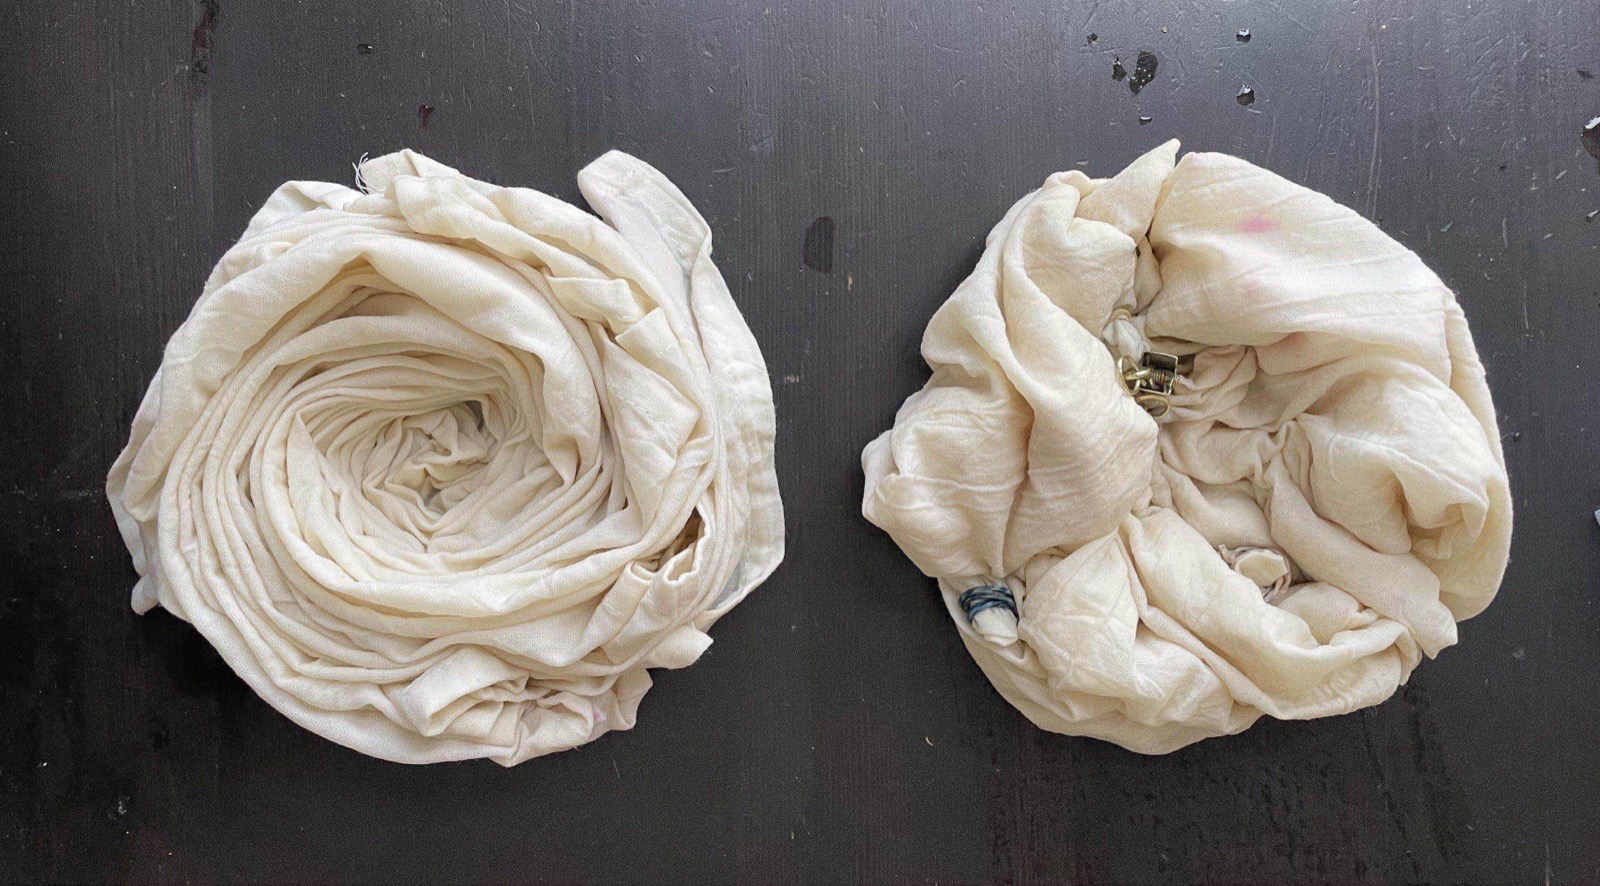
The first step of the dyeing process involved doing some mix of folding, twisting, and rolling the fabric, with the goal of making some interesting patterns when the dye is added. I felt drawn to try some twisting and folding and rolling. The left here was mainly a big twist; the right was some mixture of rolling in the corners a bit, and then also twisting and clipping:
With no experience in dyeing, I did not have much idea what these different sorts of folds and twists would do. Dyeing seems to be a deeply experimental and uncertain process. There are so many different variables that can affect the final output – the fabric, the preparation, the dyes, the folding, the melting of the ice (in our case), and so on. While I am sure it’s possible to learn more about all of these things – and build deeper intuition about how they each impact the final result – some degree of surprise and unpredictability seems inevitable. As the artist, you’re more focused on the process and the infrastructure of creation, rather than precise control of the particular result. I appreciate creative practices that emphasize this kind of uncertainty and serendipity.
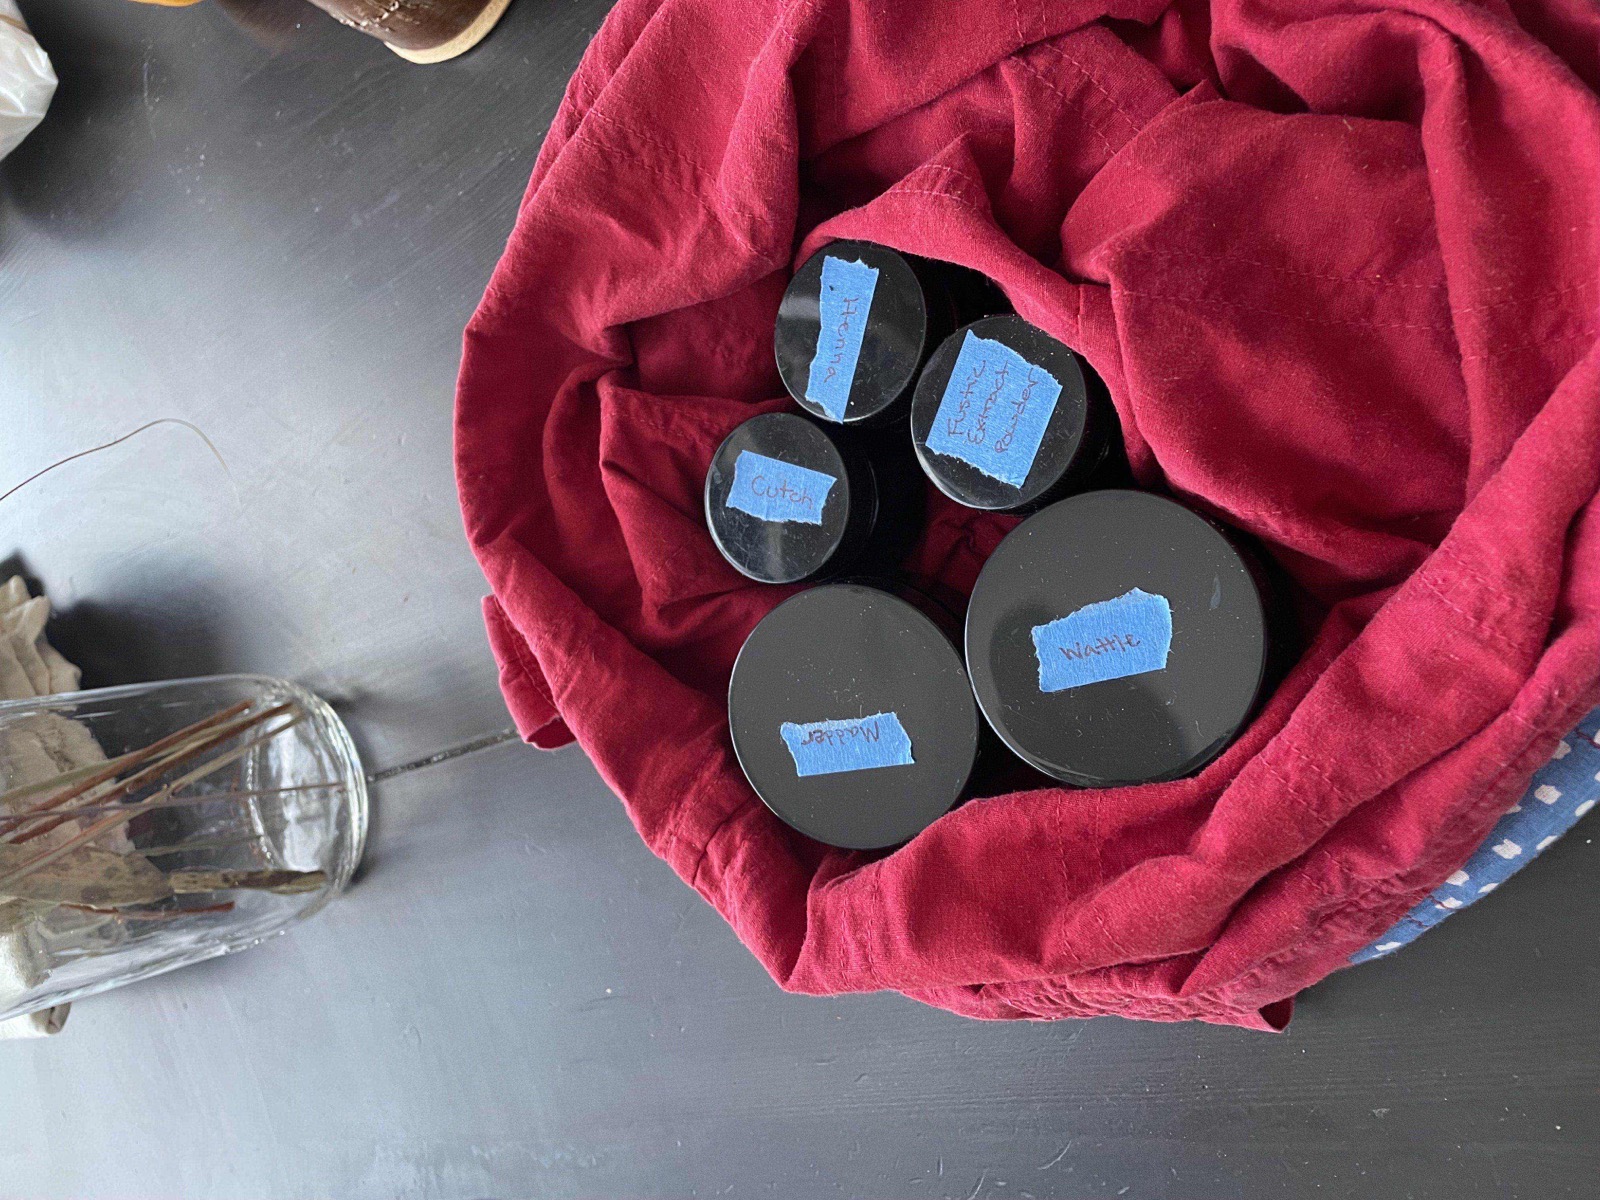
After doing some different sorts of folding and twisting, I wound up with four different experiments. The next step was to apply natural dye elements. E had a mix of prepared natural objects – marigold, dahlia, indigo – which she had grown and/or harvested, as well as a handful of dye powders – madder, and henna among them.
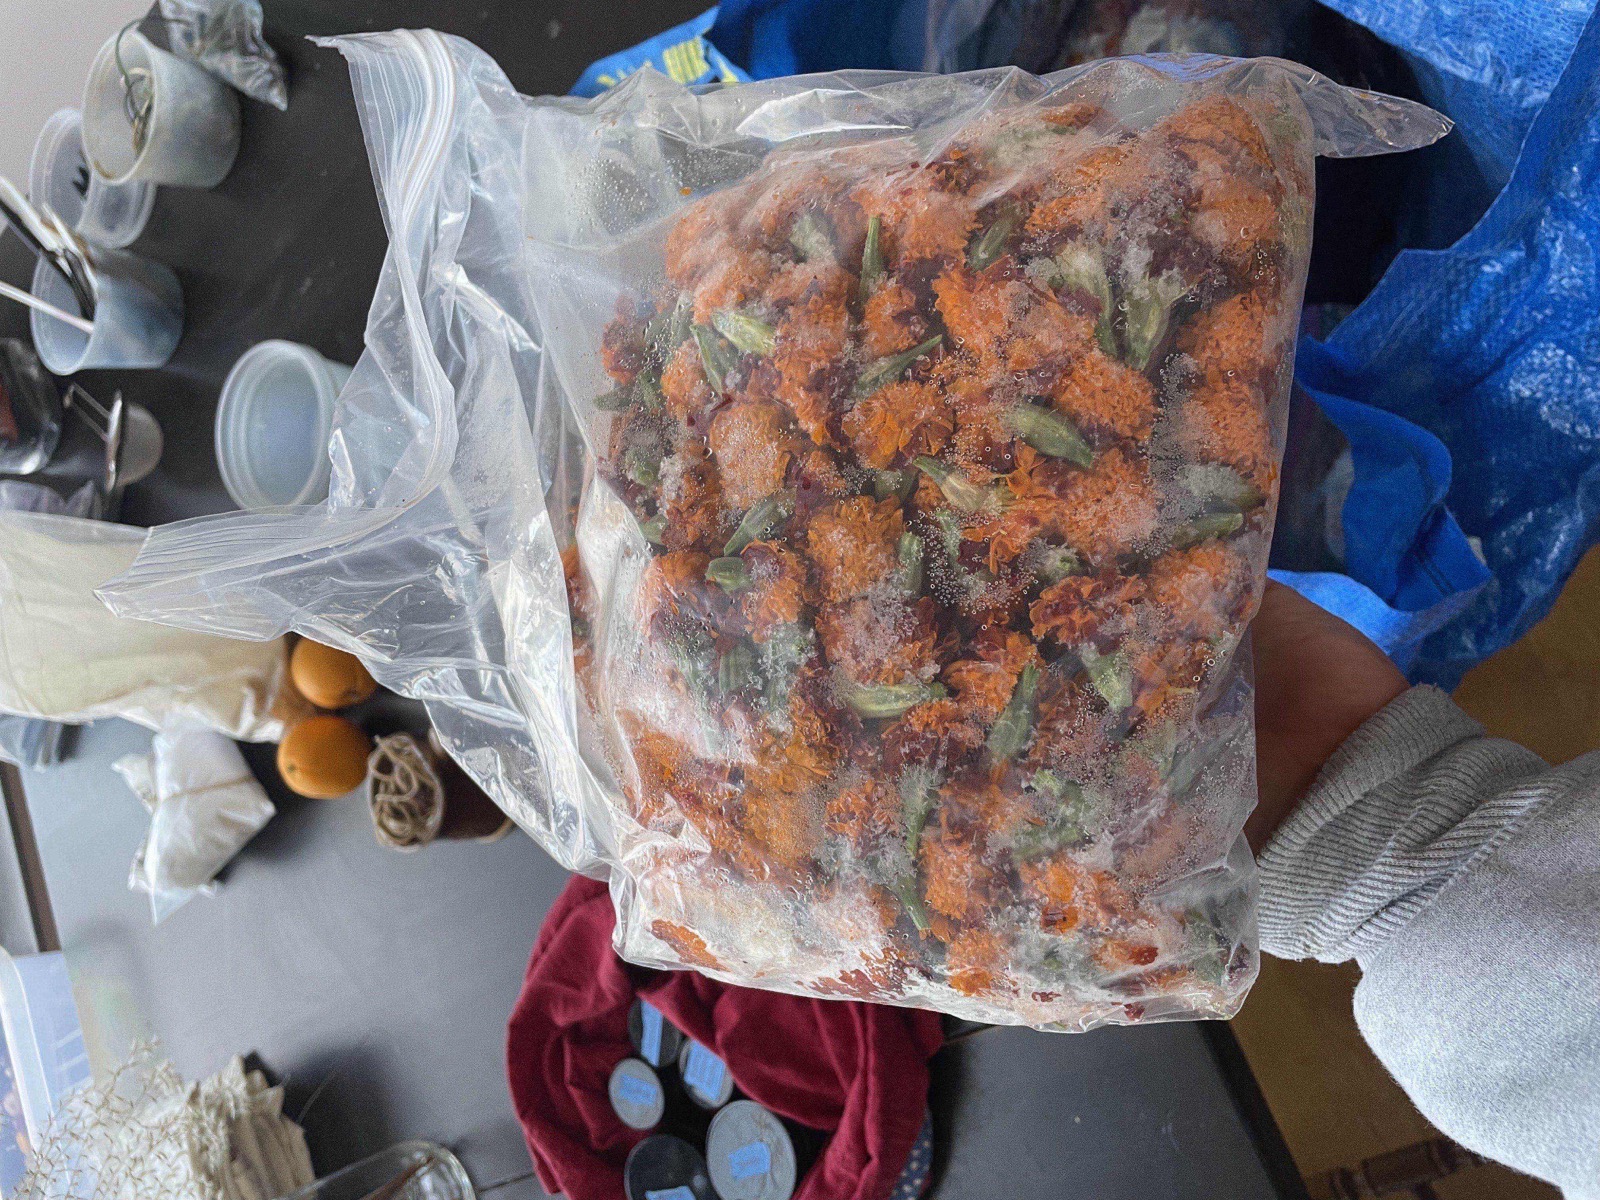
I wound up using a lot of the marigolds, drawn by their warm and saturated color, as well as some of the powders (madder, henna) and indigo leaves. I do feel drawn to indigo for future experiments, with all its history and richness. We joked that my final set of prepared pieces looked like something you might see in a cake or pastry shop:

I’ve given the pieces number here so that I can refer back later. Here was E’s set of prepared pieces:

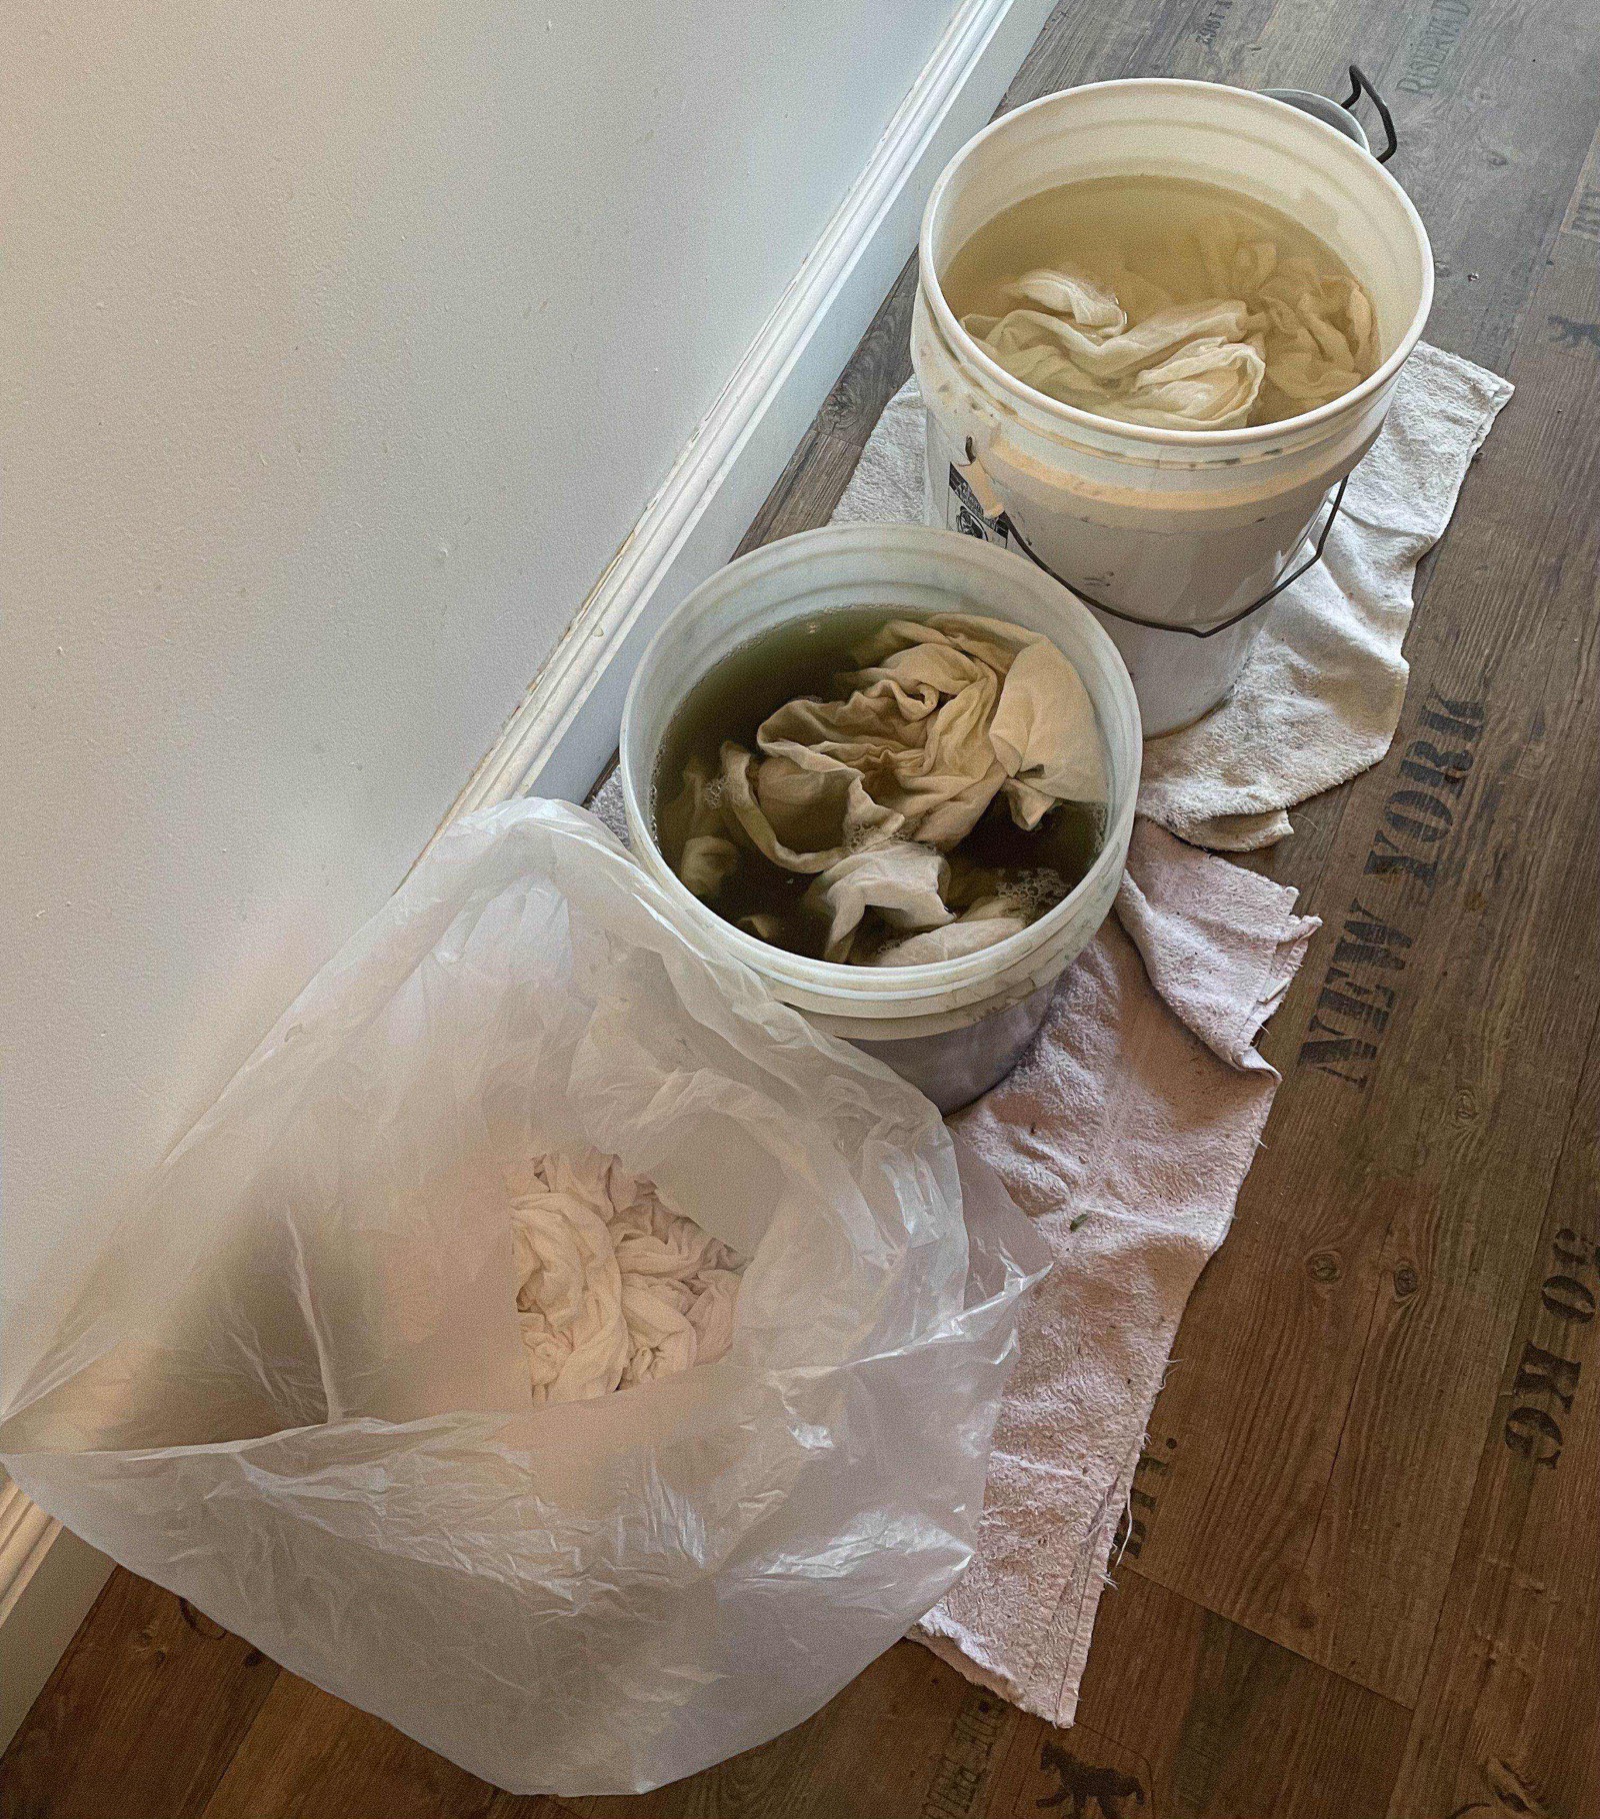
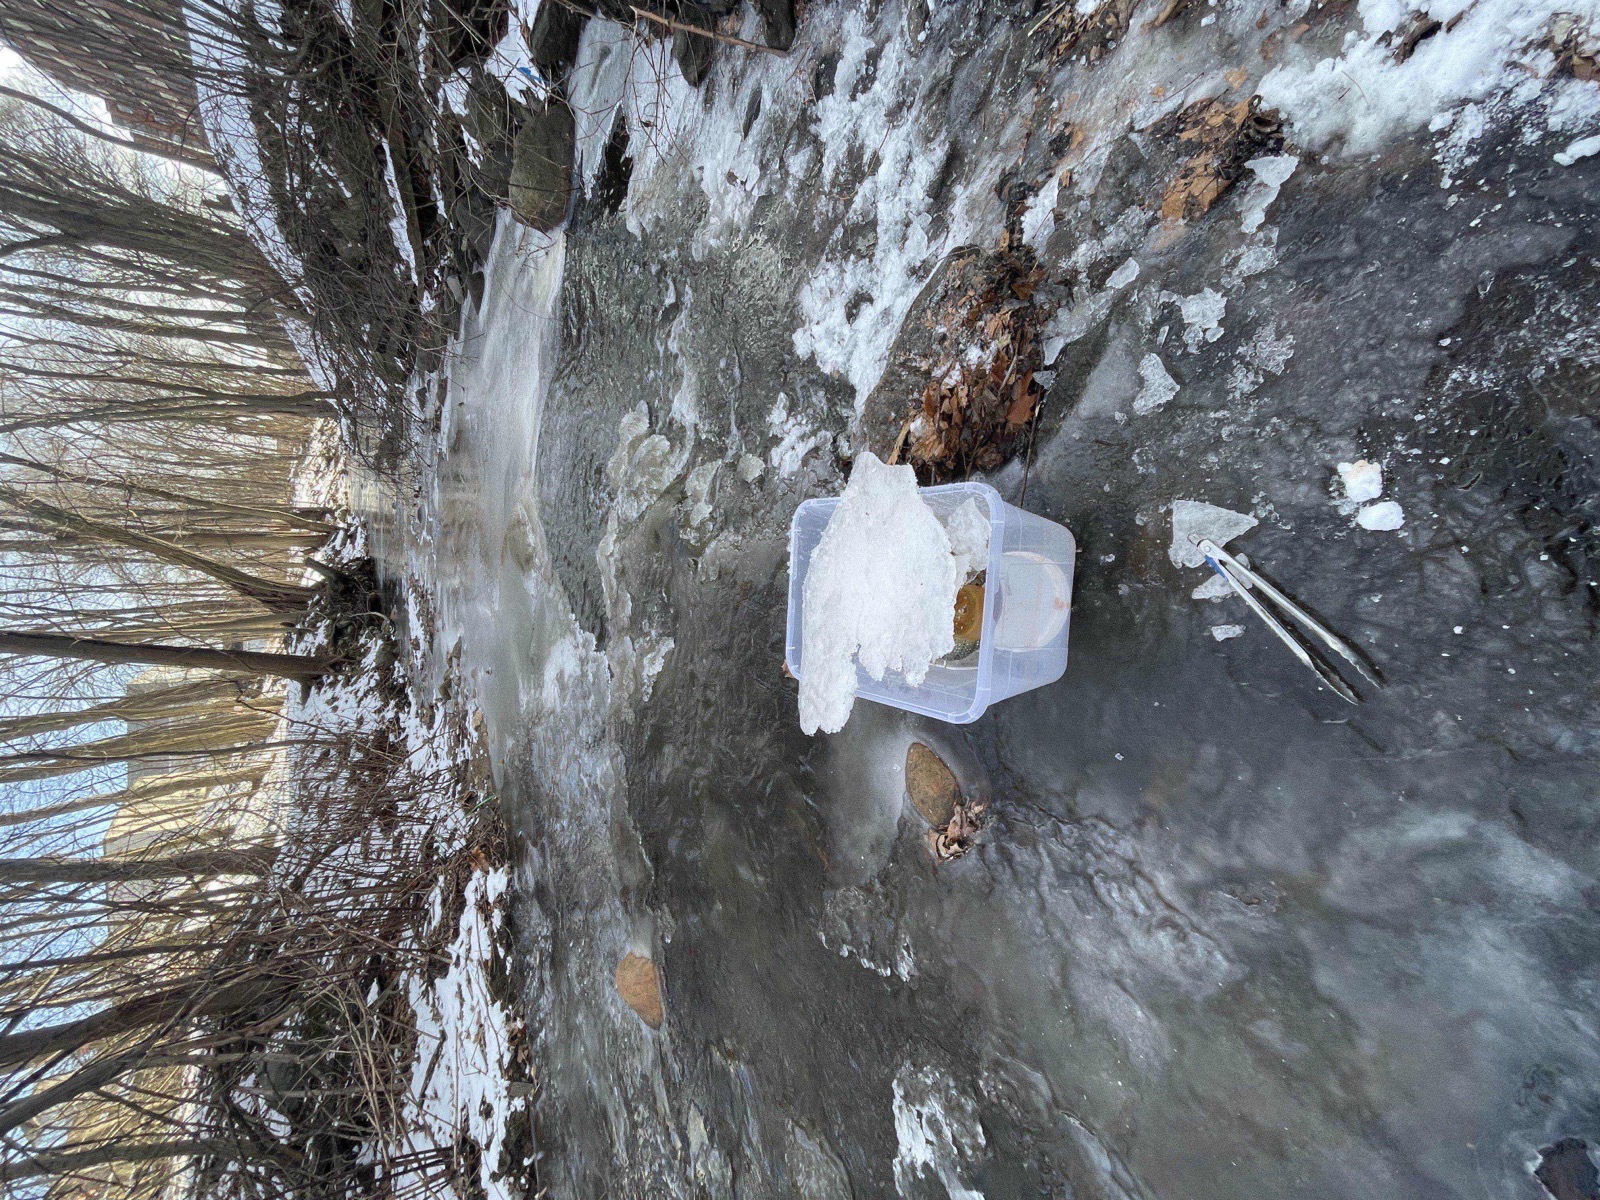
After preparing our pieces, it was time for ice. We headed out into the cold to see what we could harvest from a partially-frozen brook nearby. It was not initially obvious how best to harvest bits of ice. We did a lot of hacking at the ice with tongs, breaking off whatever chunks we could to load over our pieces. After harvesting lots of little bits, I eventually wound up pulling out one giant chunk of ice to place over the top of everything. In the end, the brook – and the cold of the day – wound up working quite well for our purposes. It was fun to be outside for a bit and engage with the physicality of this part of the process. It is not often that I have reason to step in and engage directly with the ice of a winter brook.
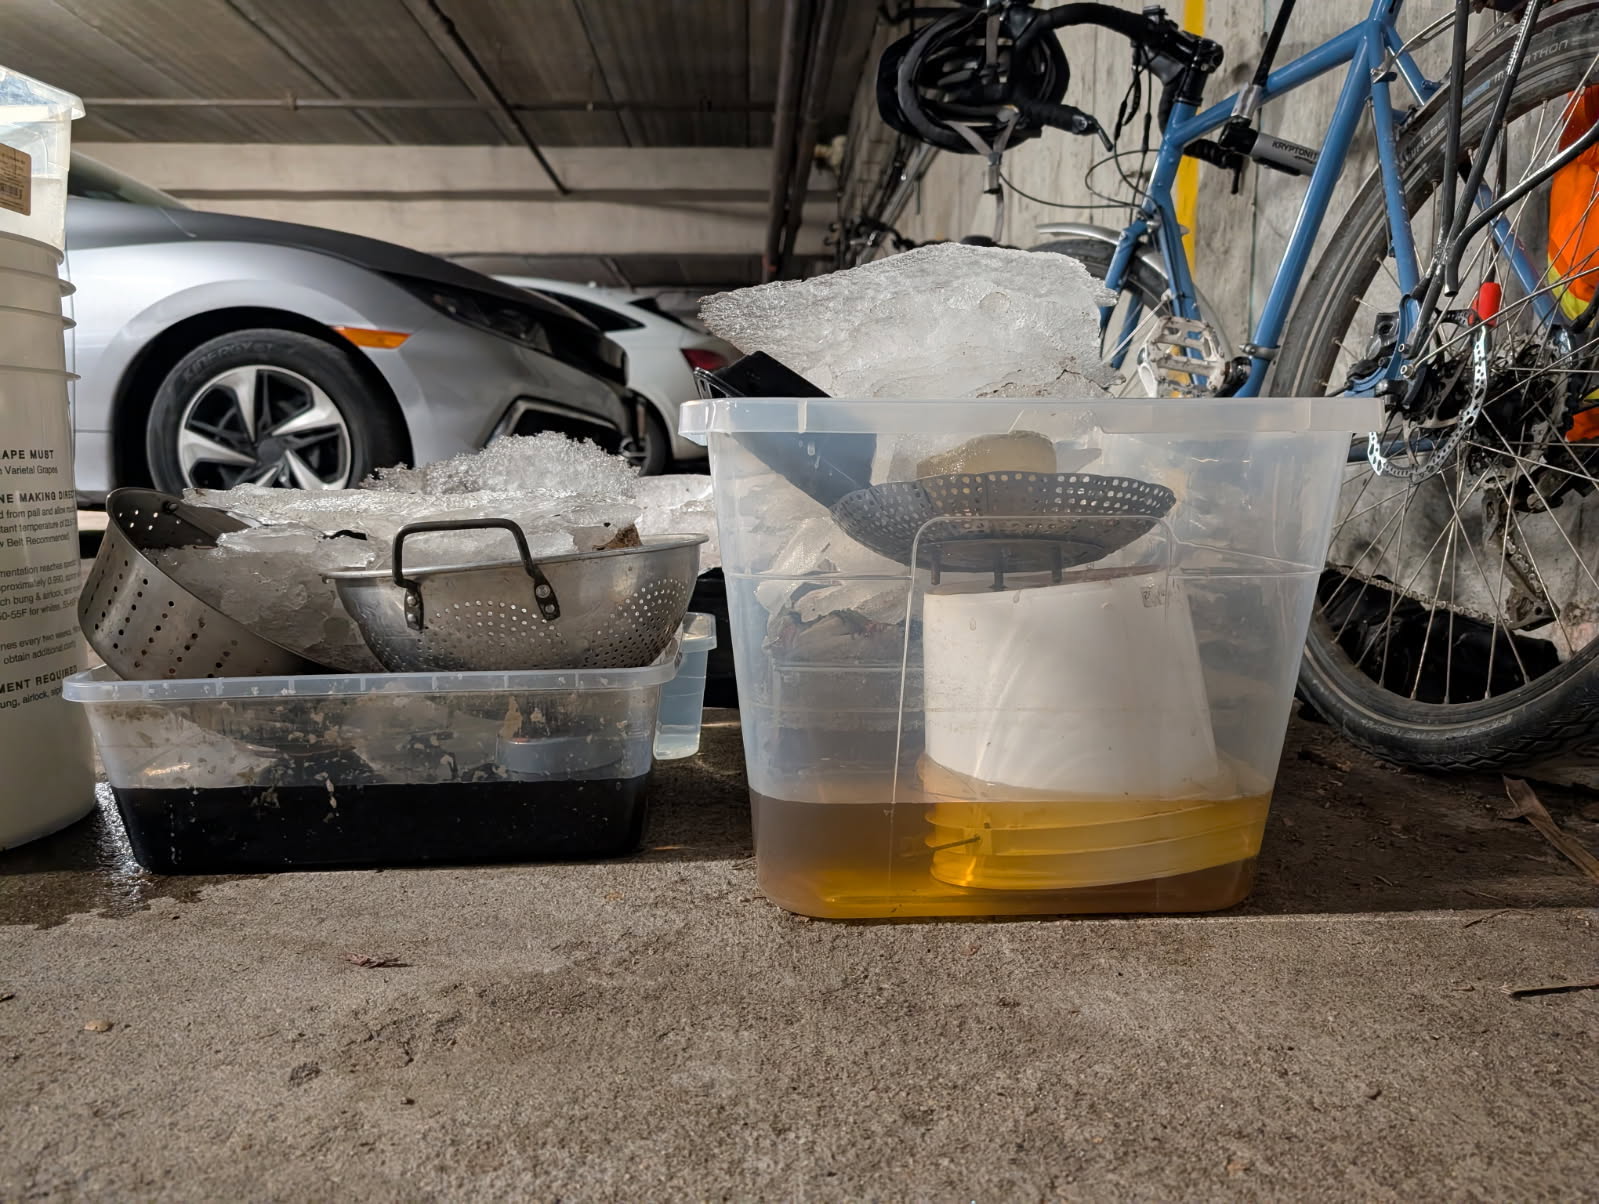
After saturating our bins with ice from the stream, we brought them in a garage area to slowly melt.

Results
First, here are a few images of the pieces freshly after the ice melt.

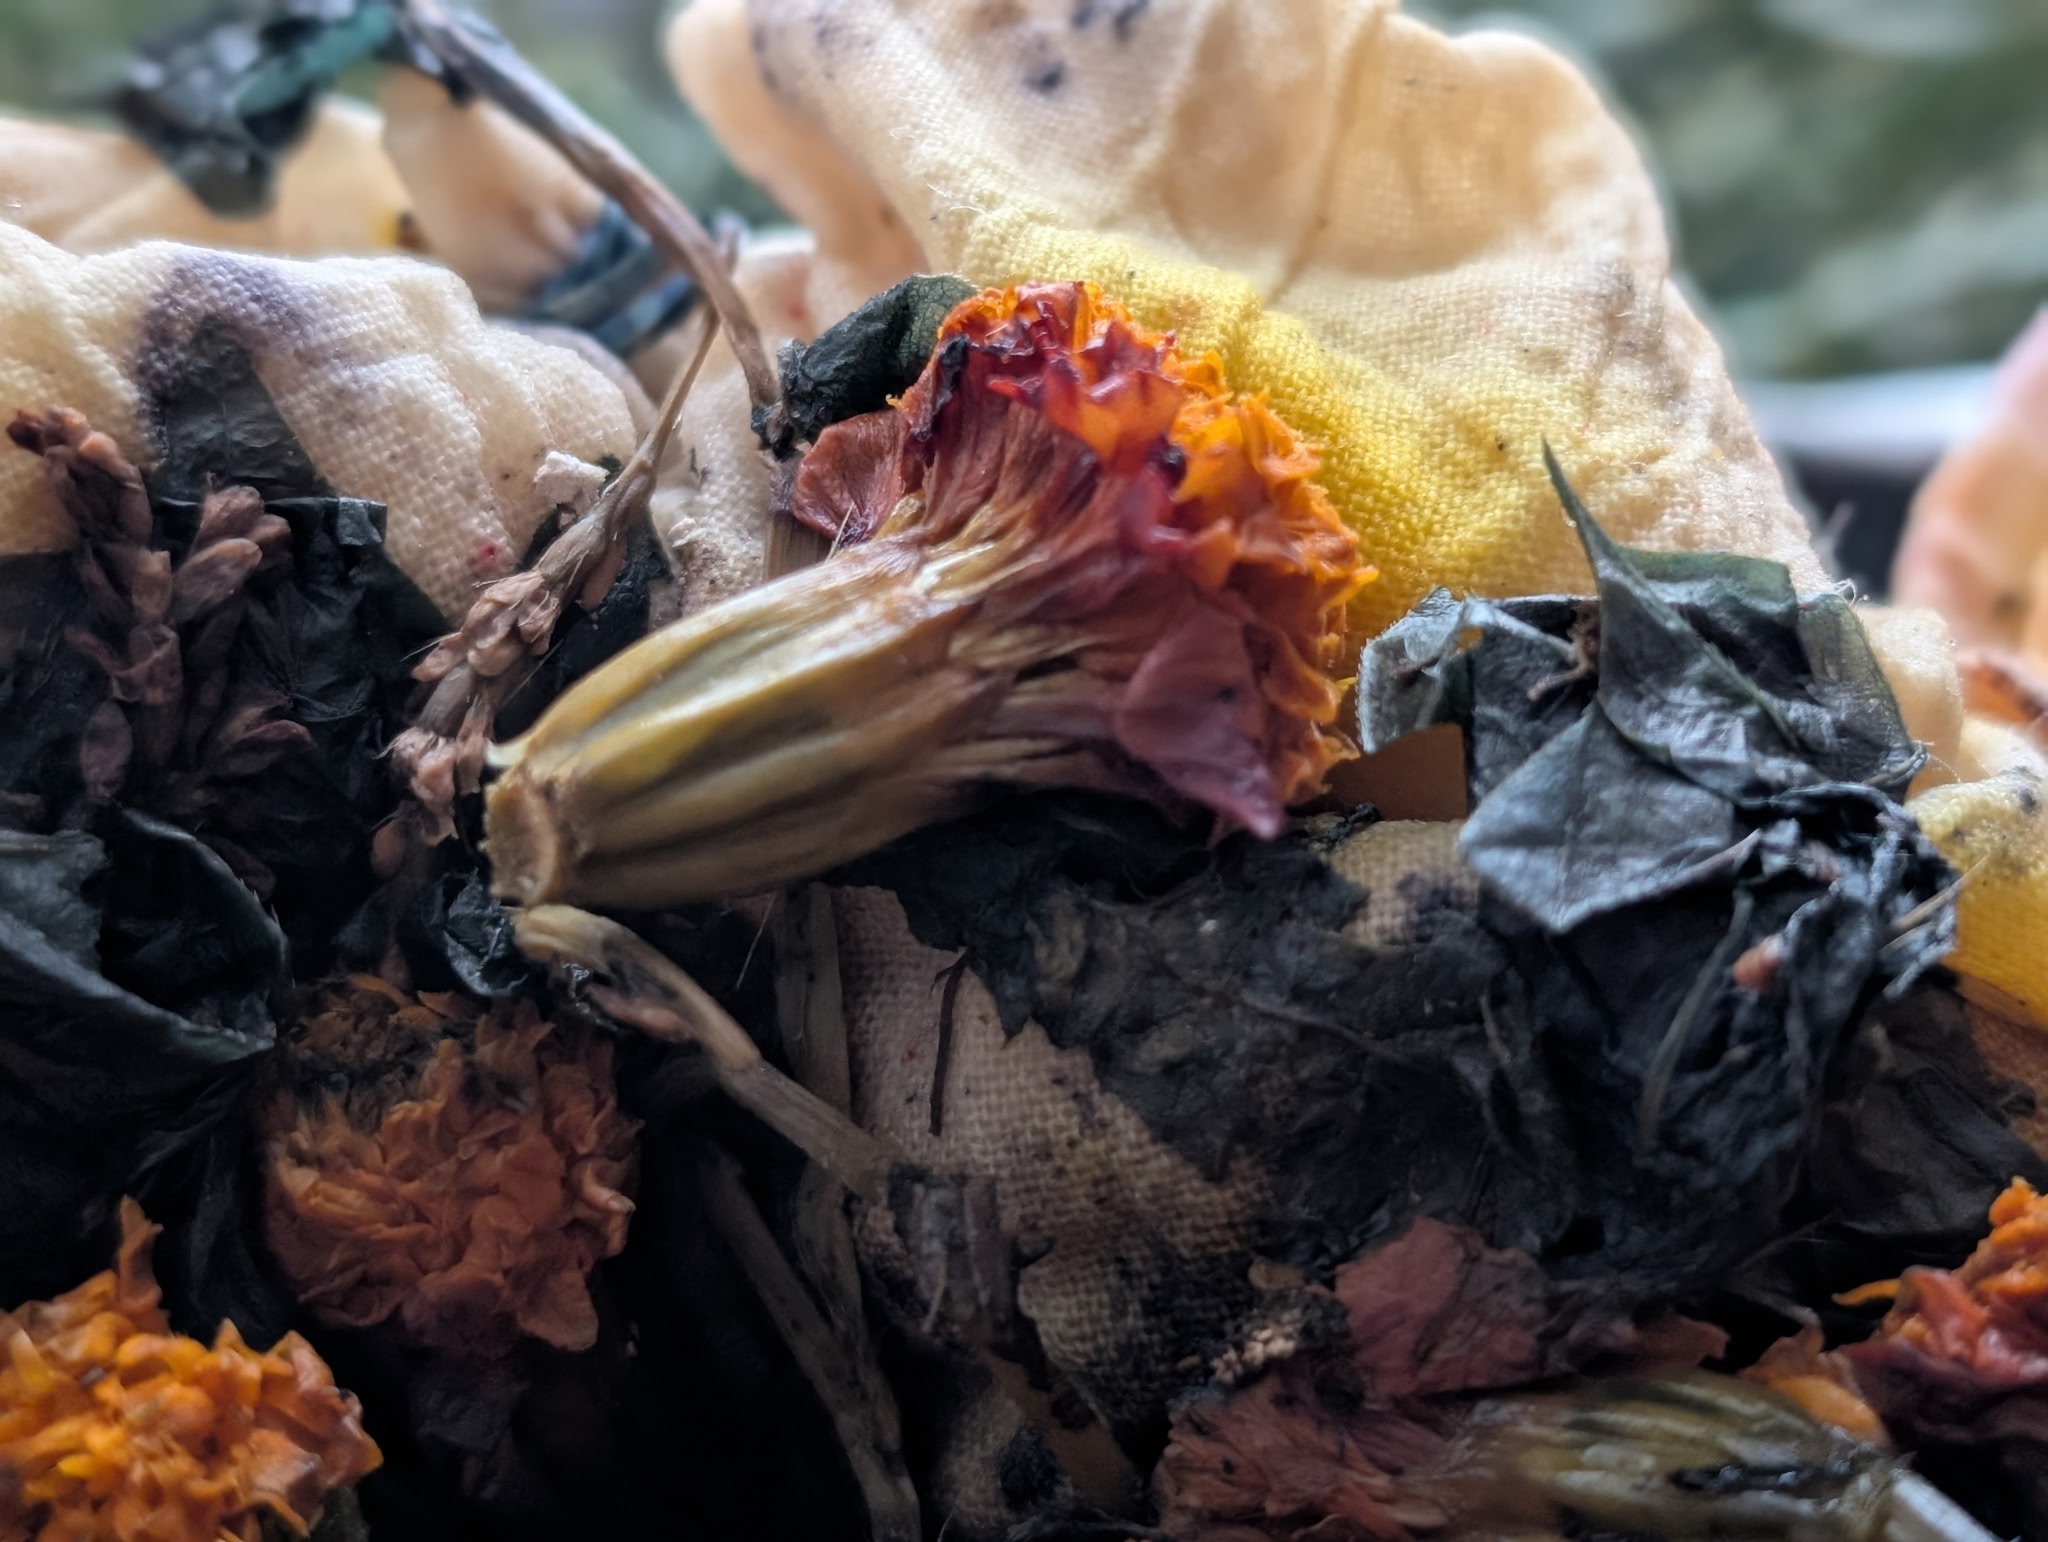
E steamed the pieces to help lock in the colors. I then unrolled them and cleaned them under the sink until the water ran clear. The final step was to store them in the dark for about a week. Below are some images of the final results after a bit of ironing. I’ll reflect a bit on each piece.
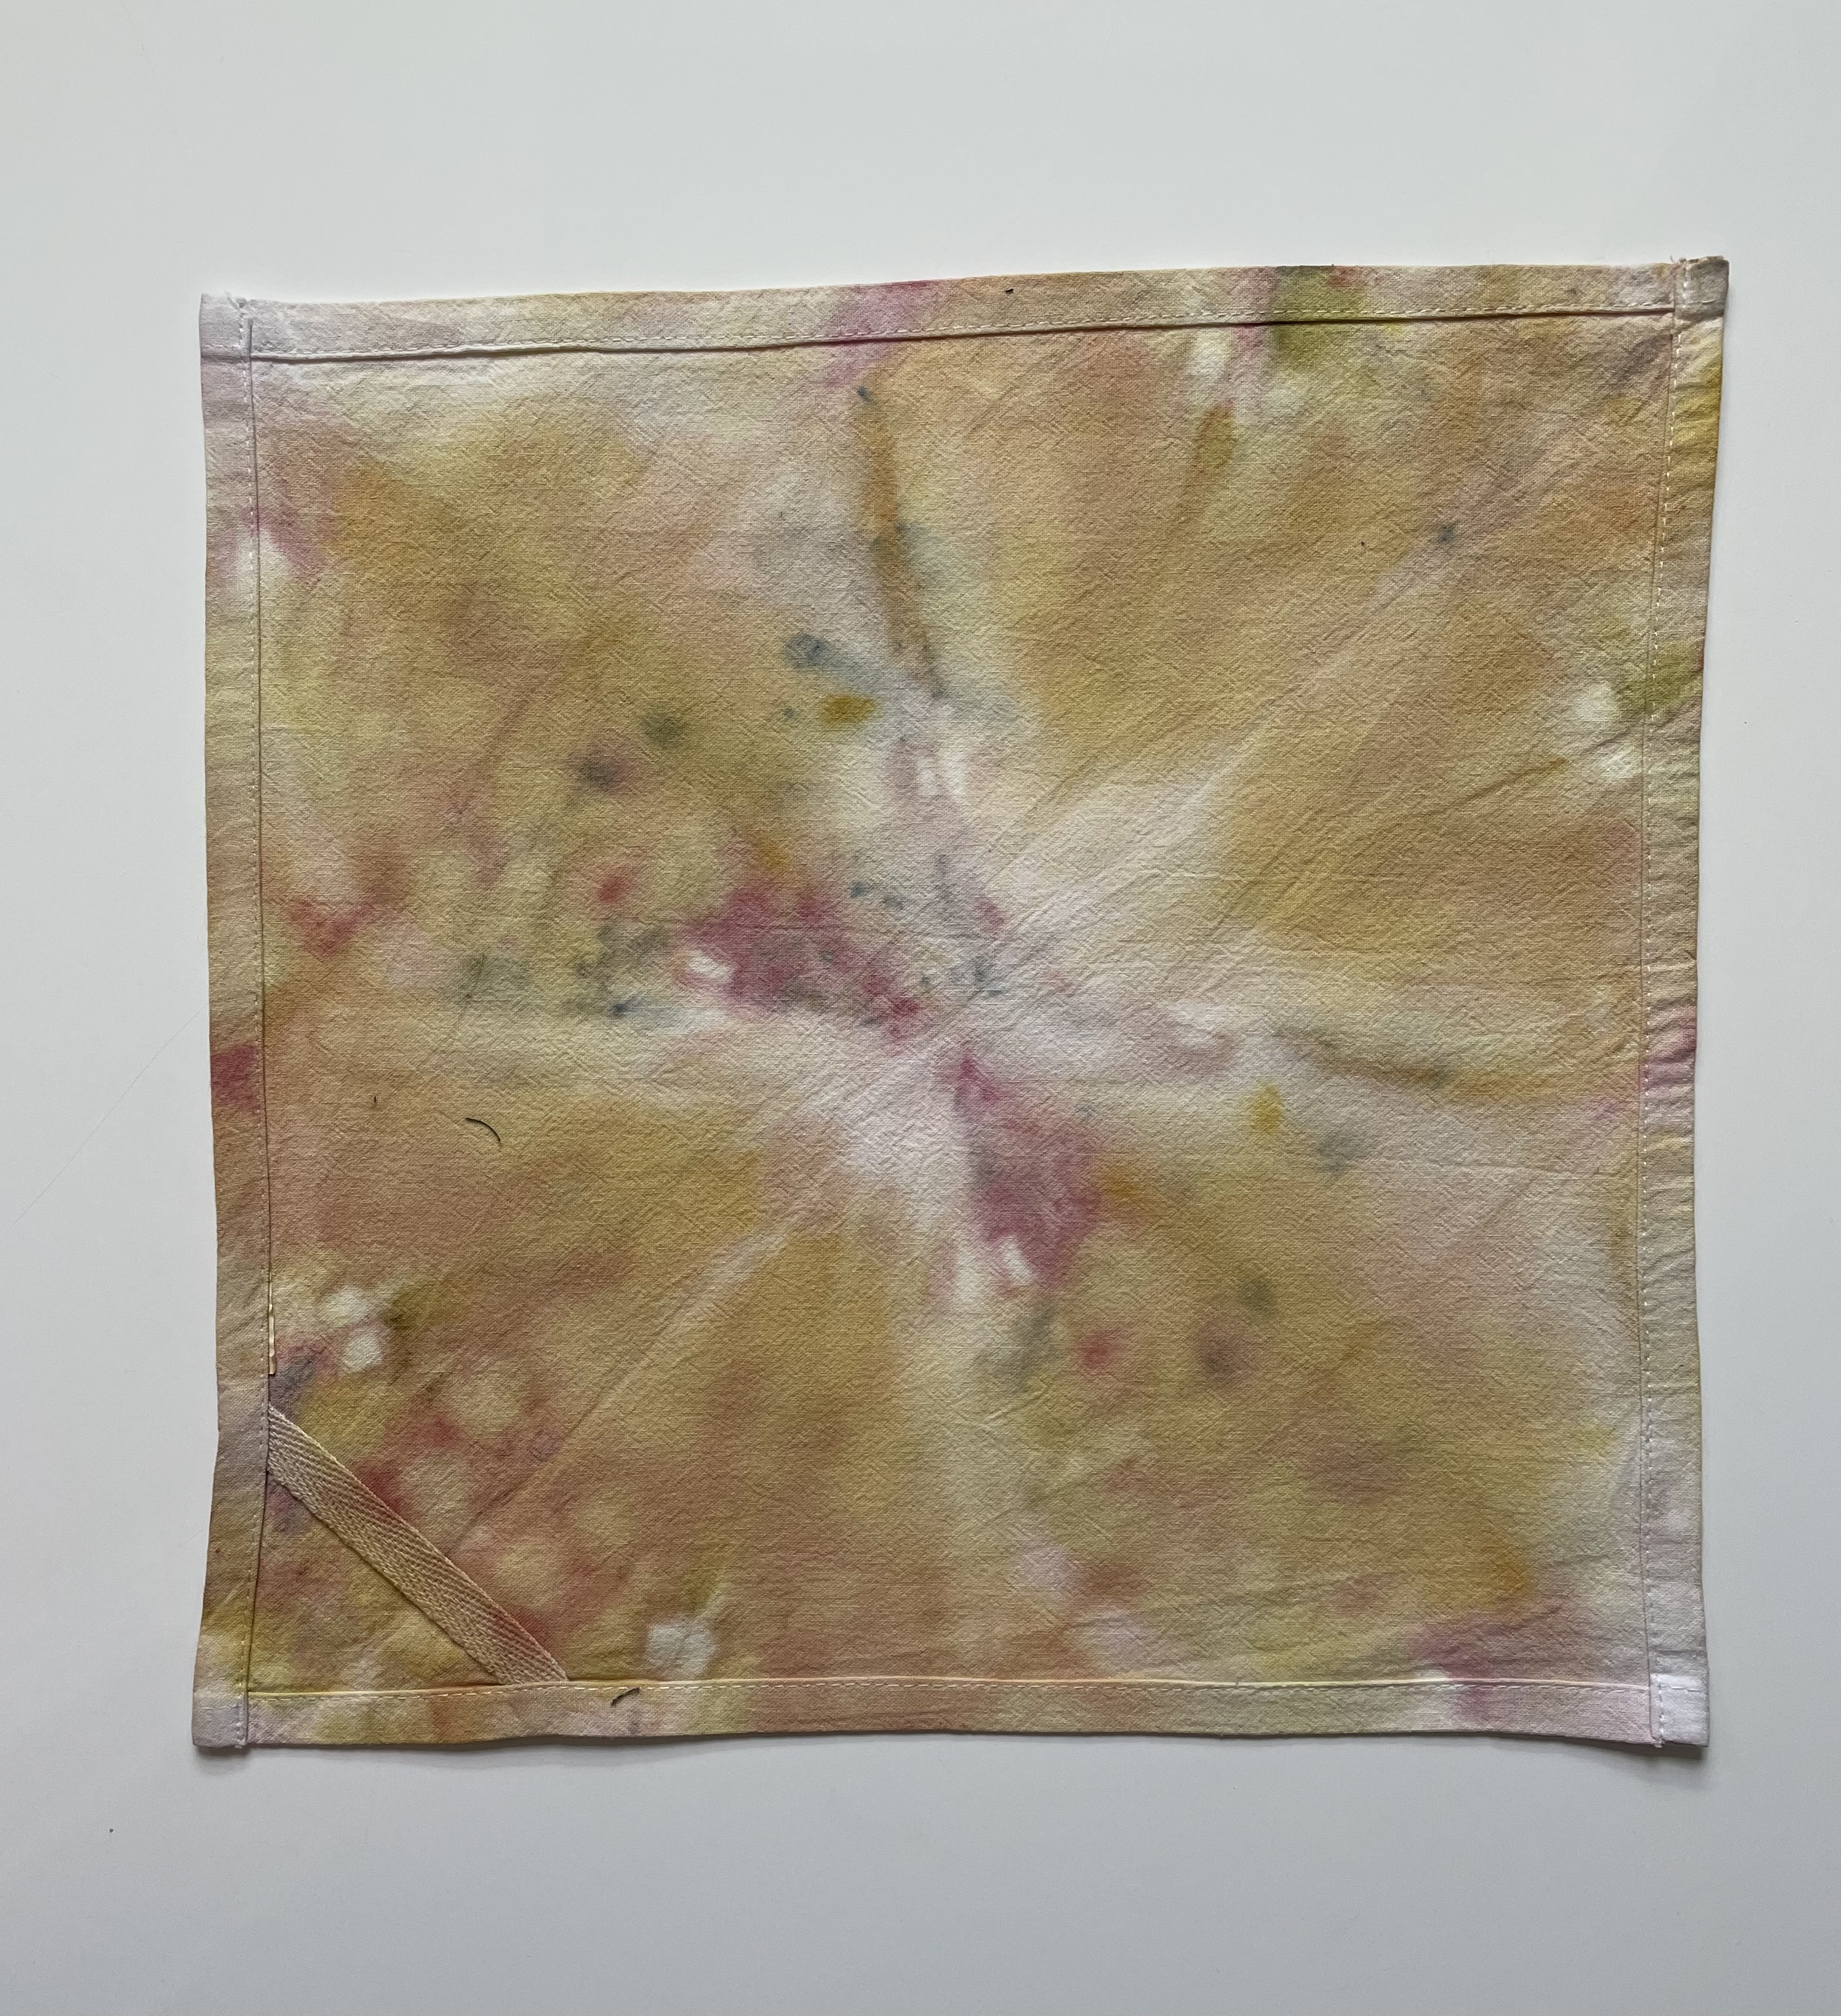
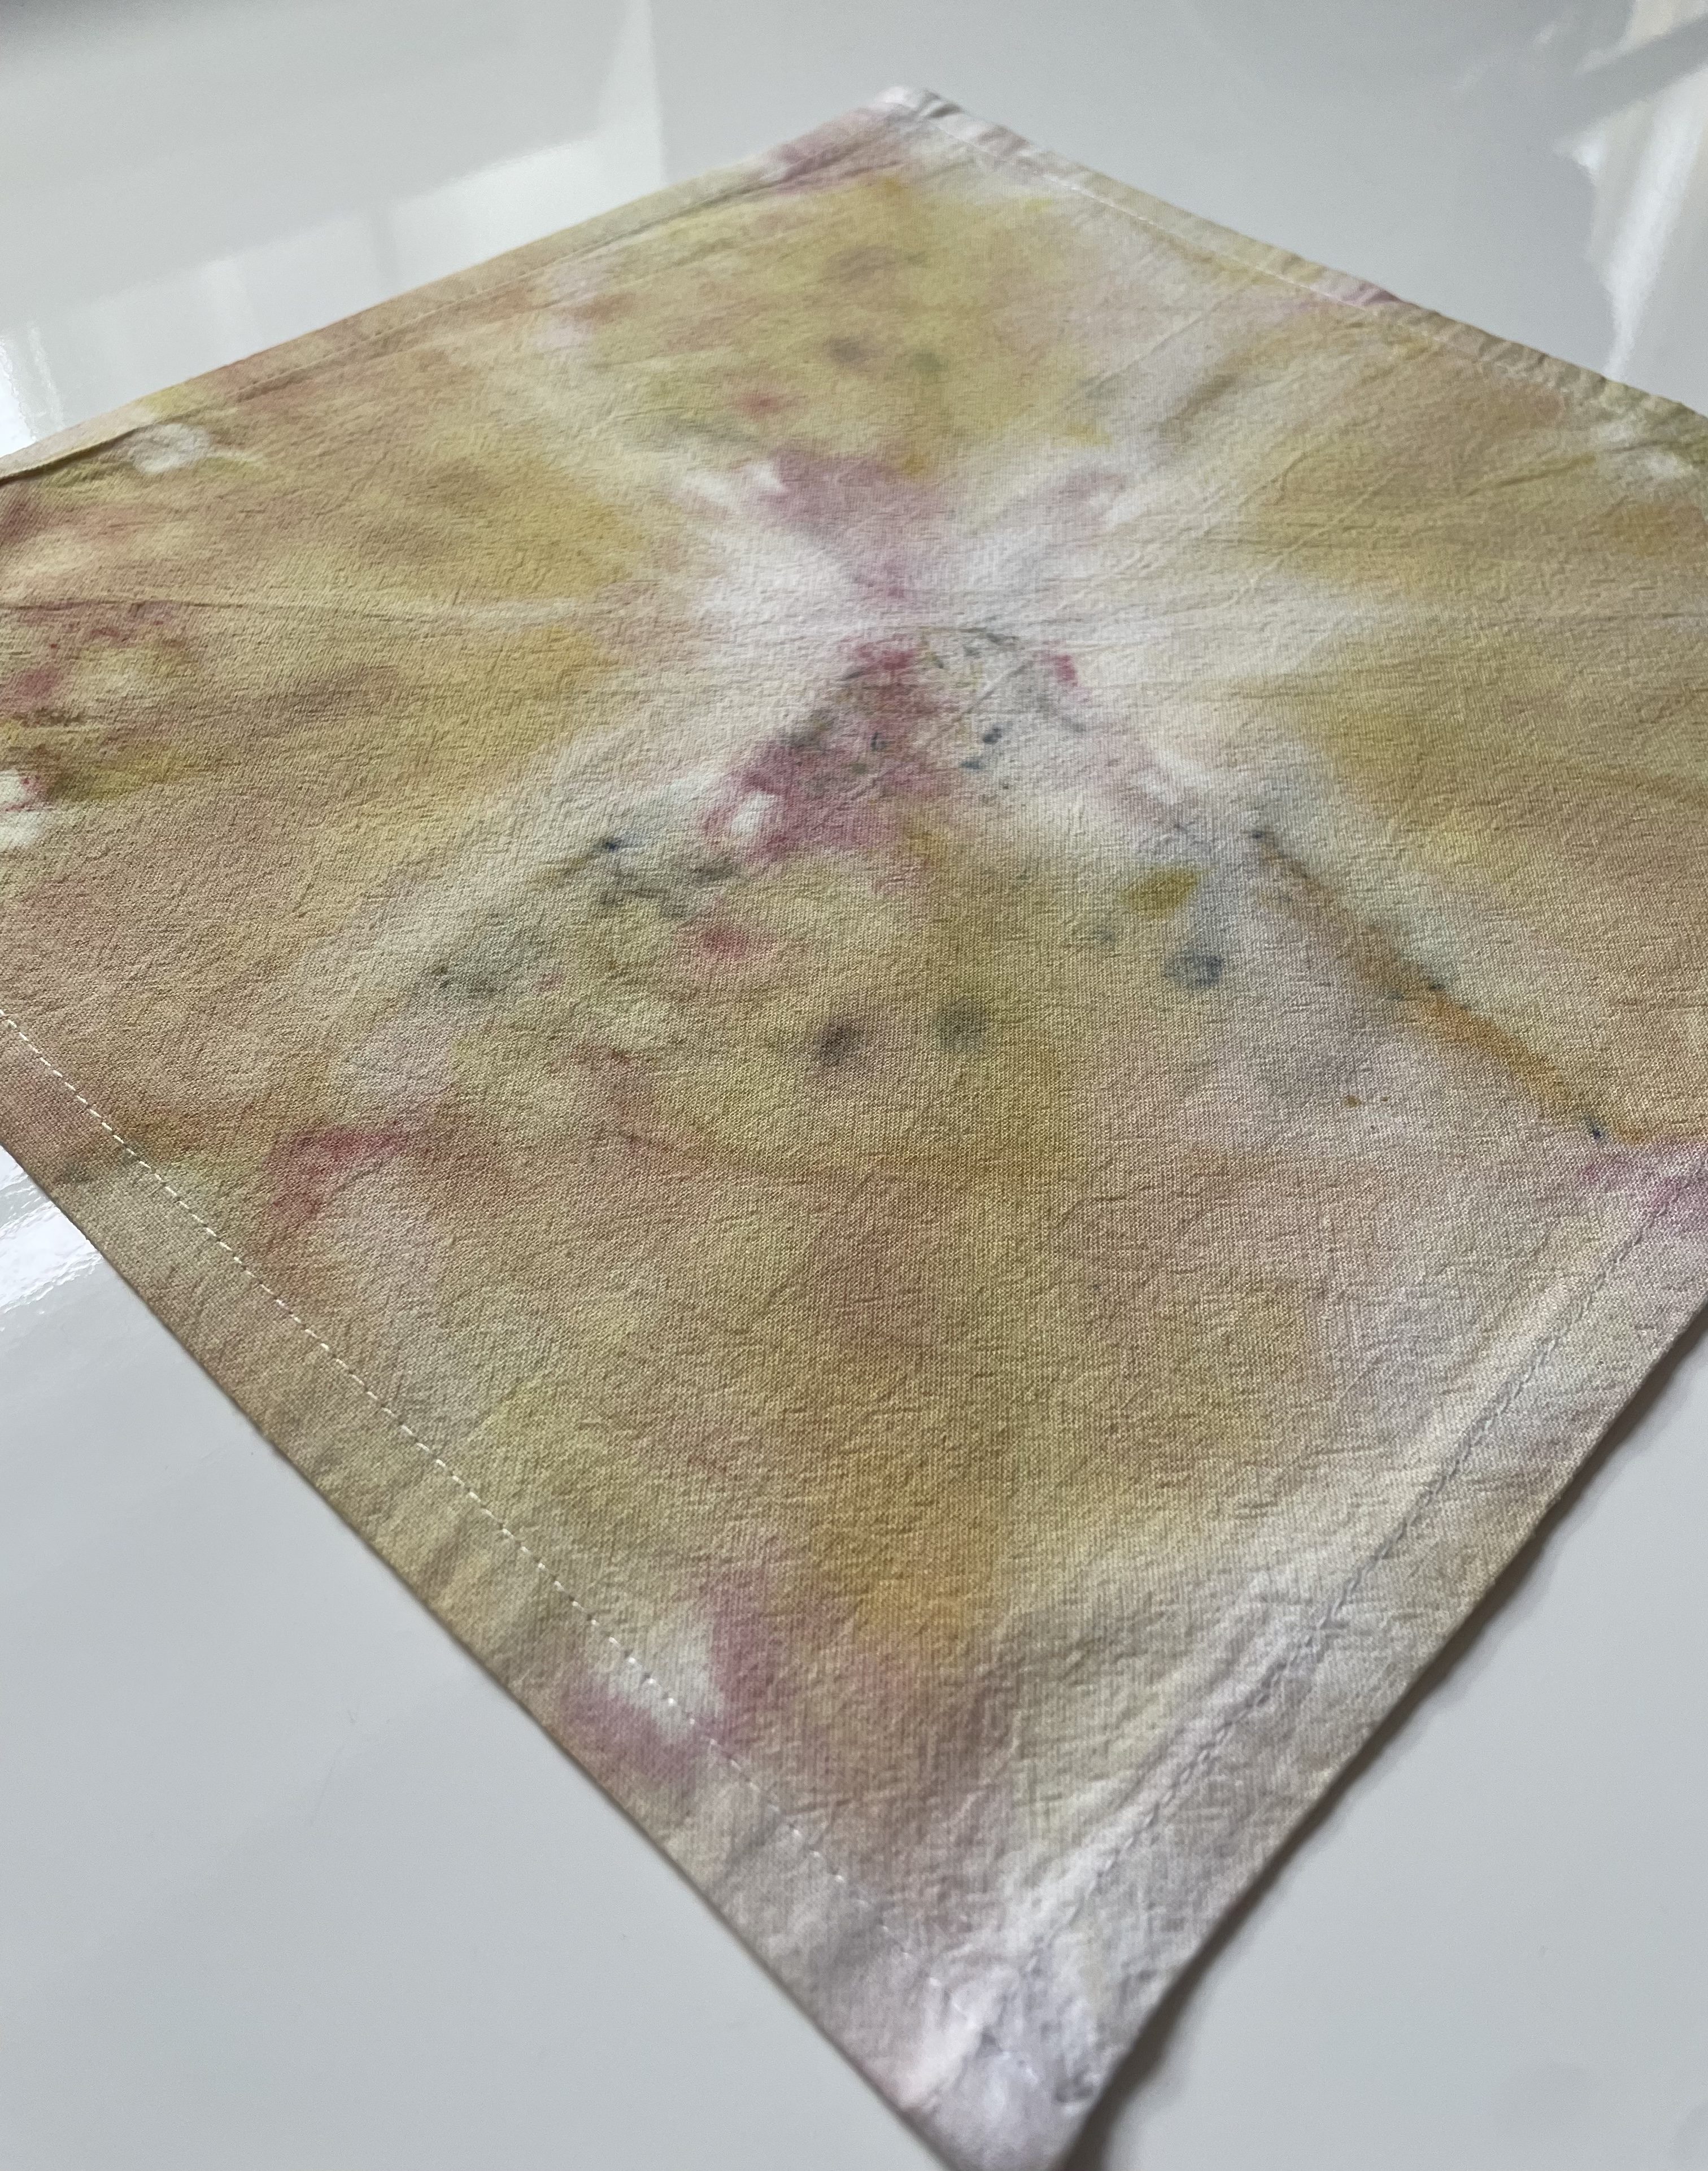
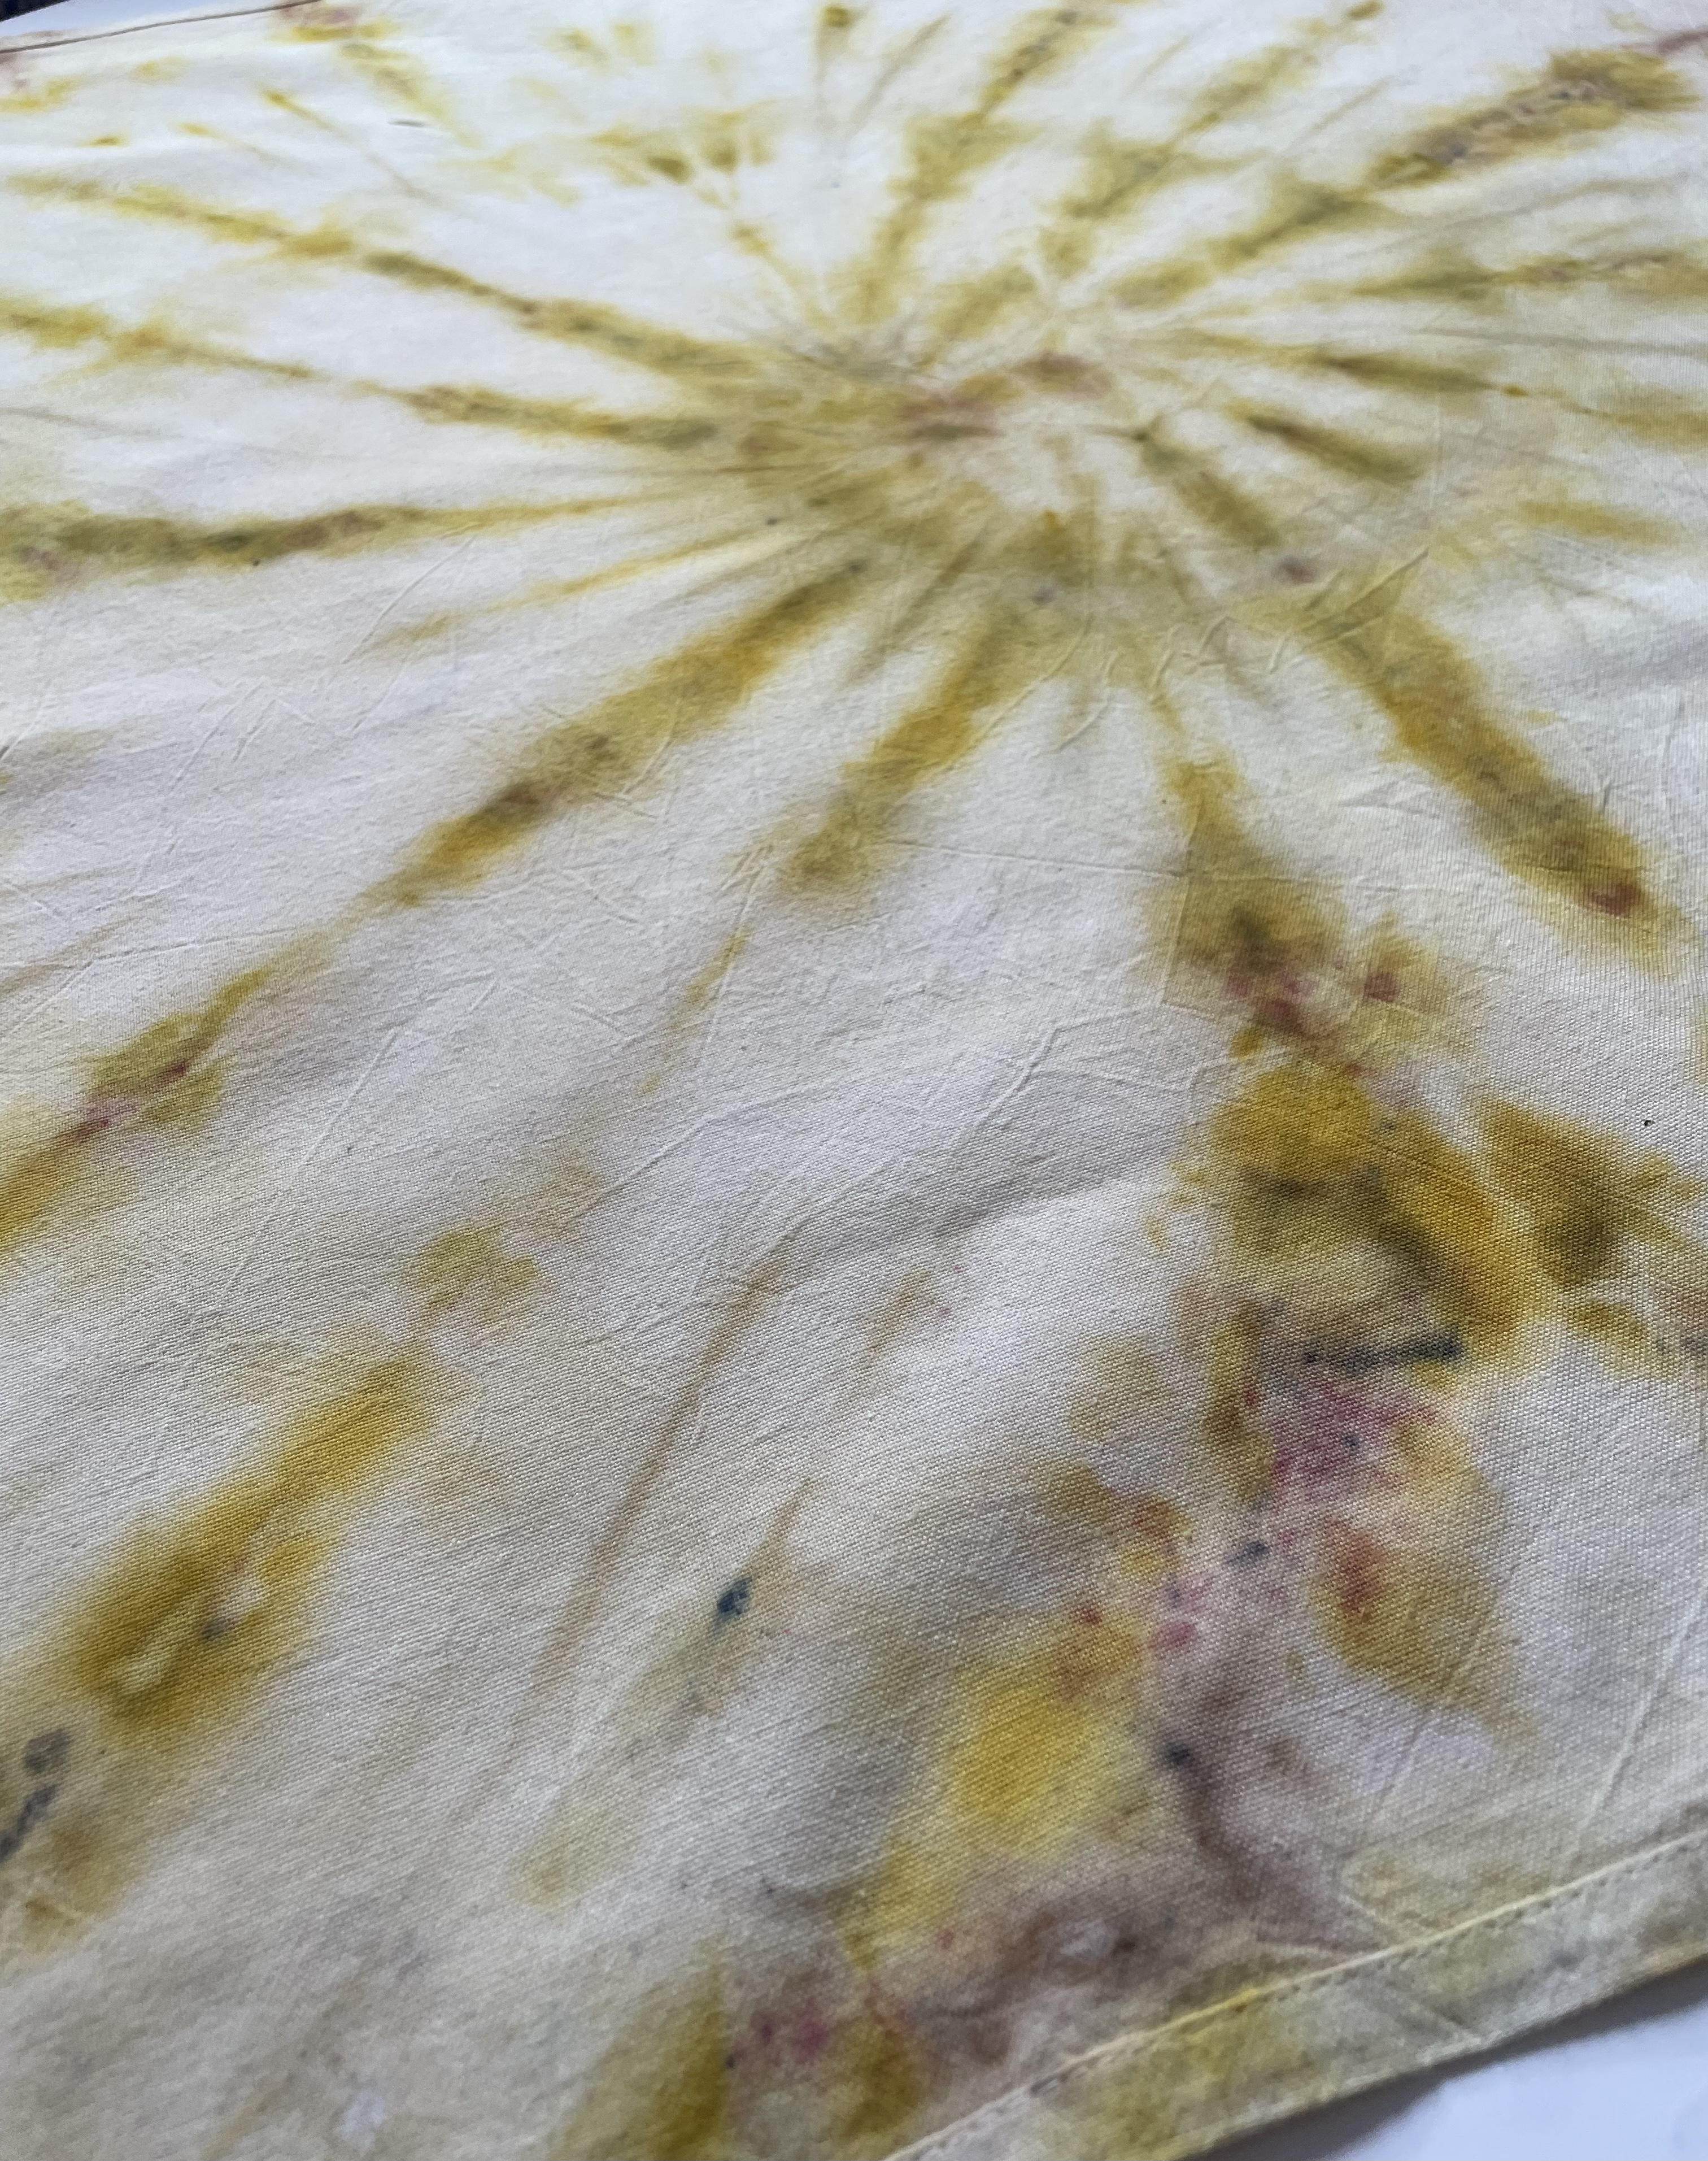
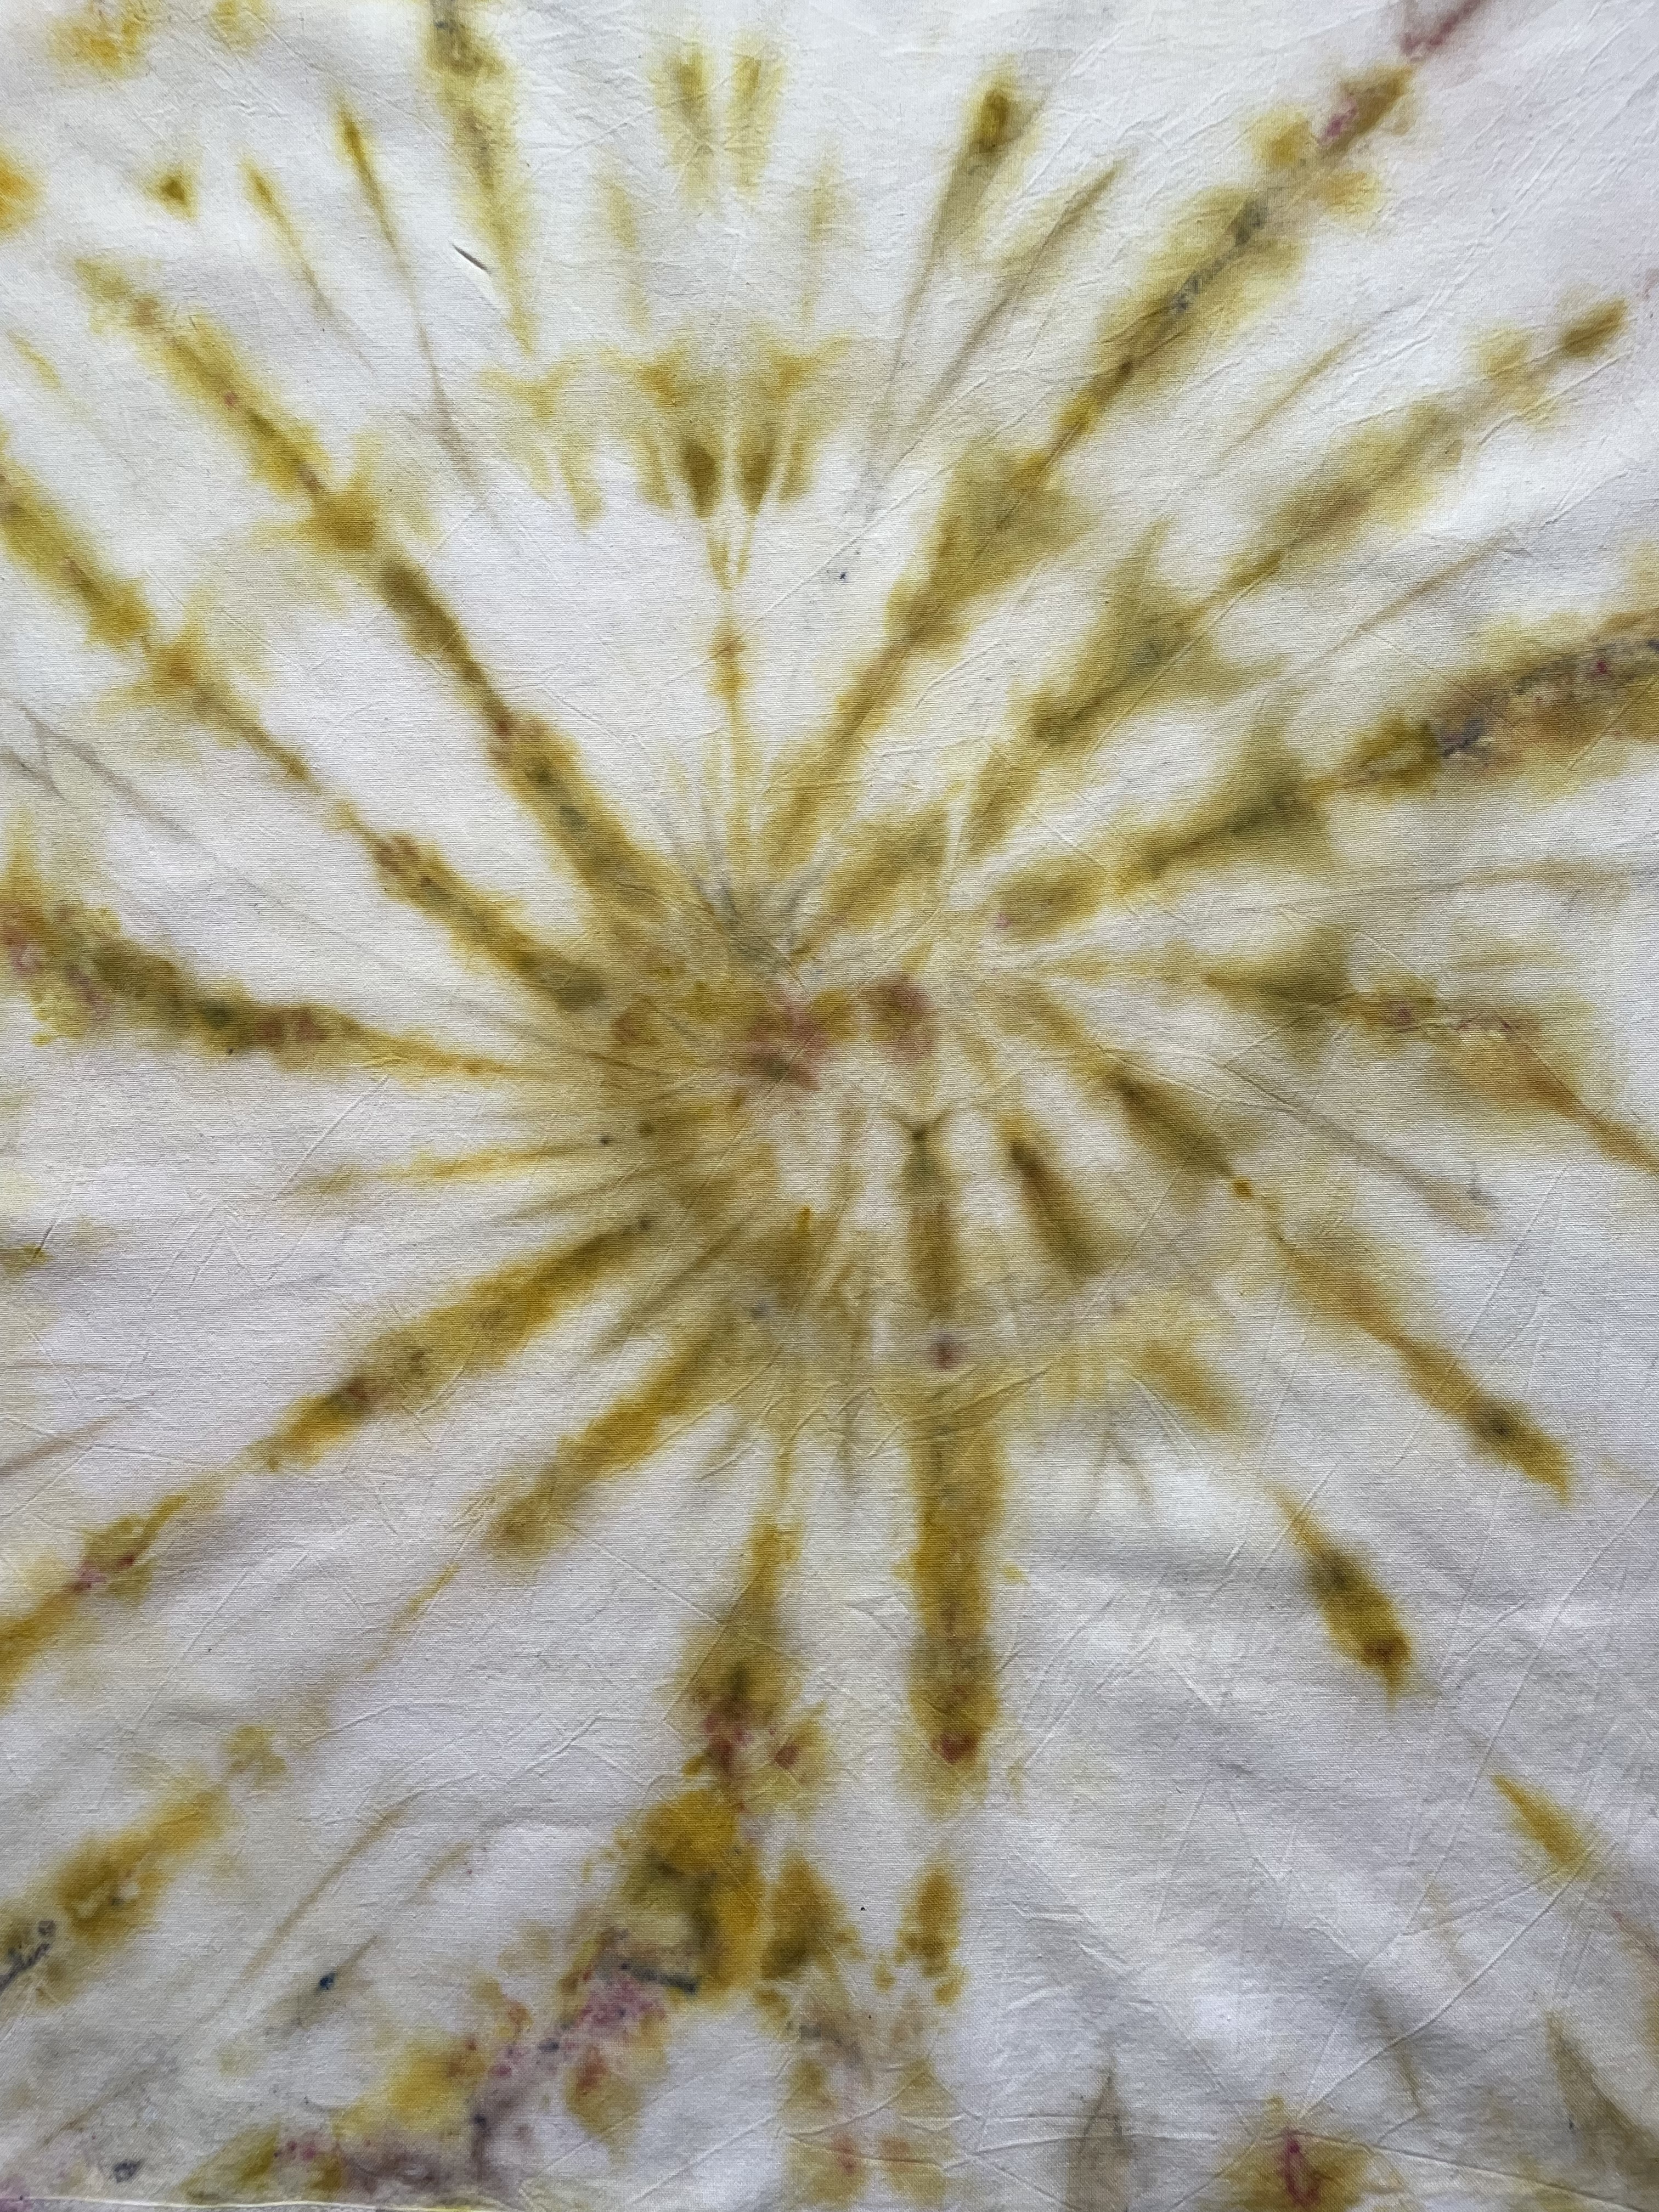
Piece 1

There’s ultimately a limited amount of color in this piece, but I do like some of the bits of texture in certain areas particularly in the top left quadrant. It’s not obvious in person, but in the photo I do notice the bullseye pattern which makes sense in retrospect. The process here was essentially to to make the bullseye type preparation using rubber bands, then twist the resulting piece in a spiral and place the dye elements on top. I am not sure exactly what accounts for the streaks out from the center.
Piece 2
This piece wound up being the most saturated and dense in color, which is interesting. Referring back to the setup, there’s a few confounds here. First, this fabric was prepared a bit differently than the rest; also, it was less densely folded, allowing for more dye saturation. There’s a bit of symmetry in the color pattern – especially across the diagonal axis – which makes sense given the simple folding. I do appreciate blending of the reds and yellows in this piece. There is seemeingly more “mixing” of the colors here than in some of the other pieces.
Piece 3
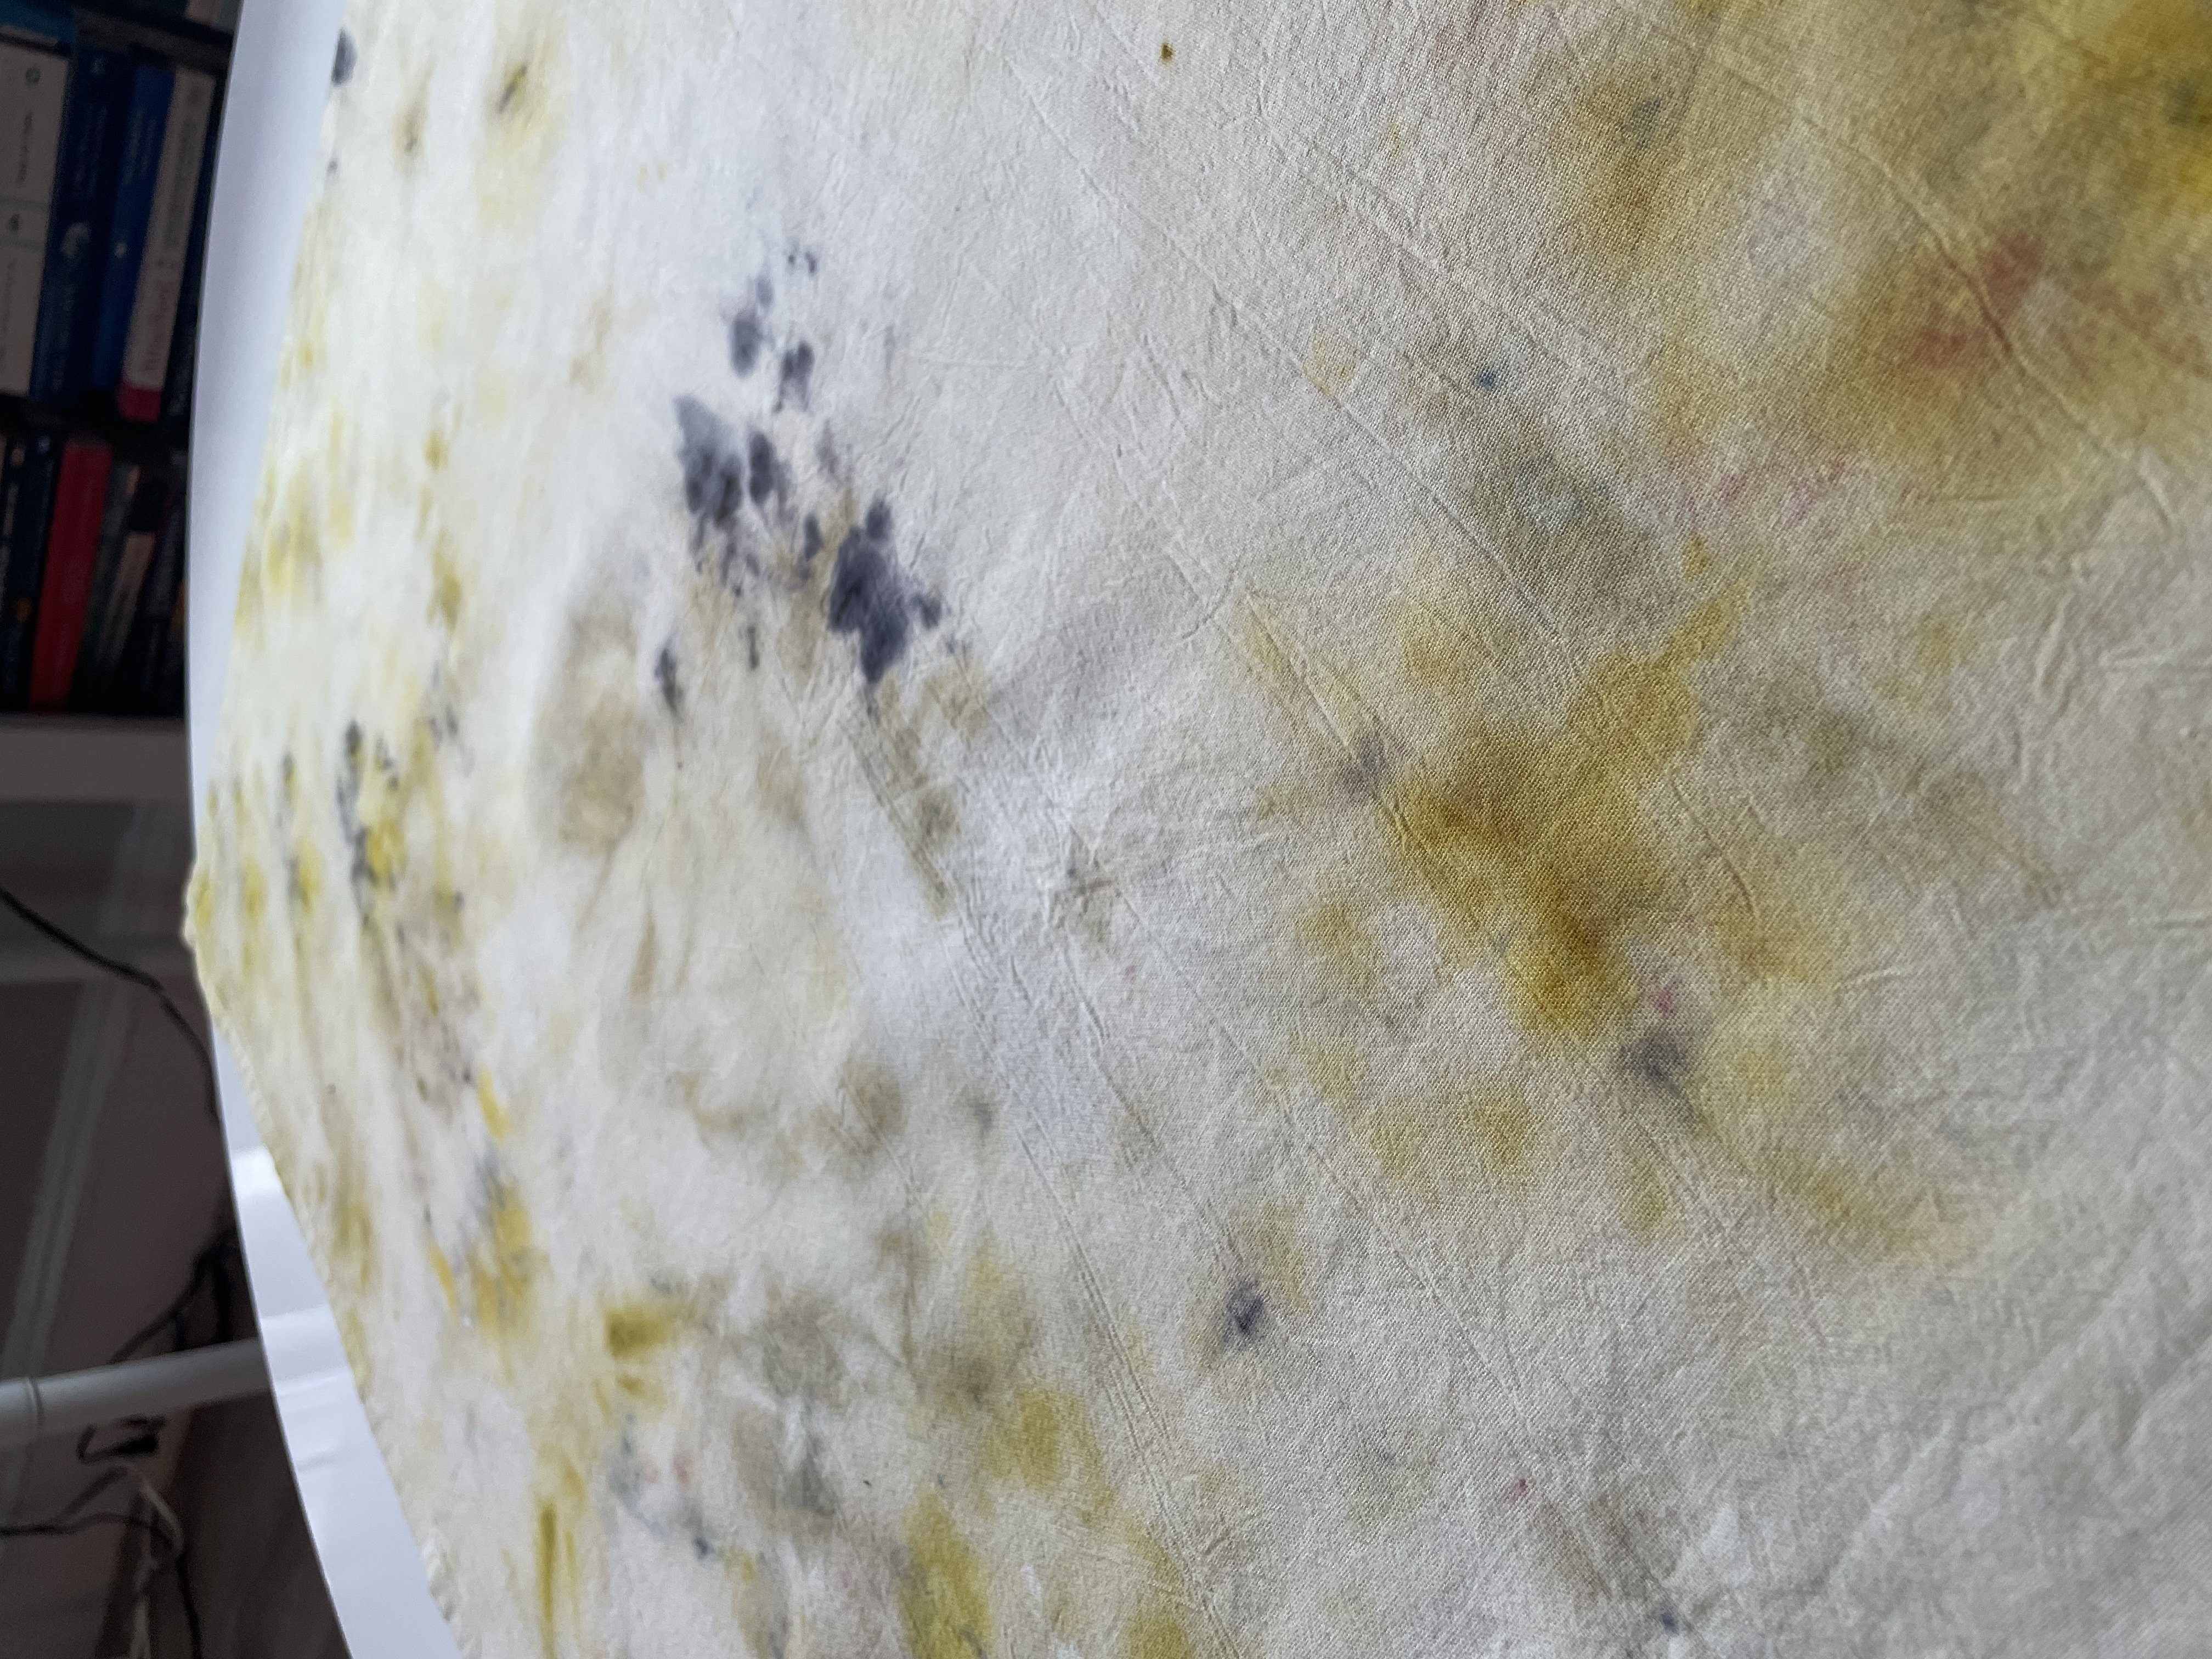
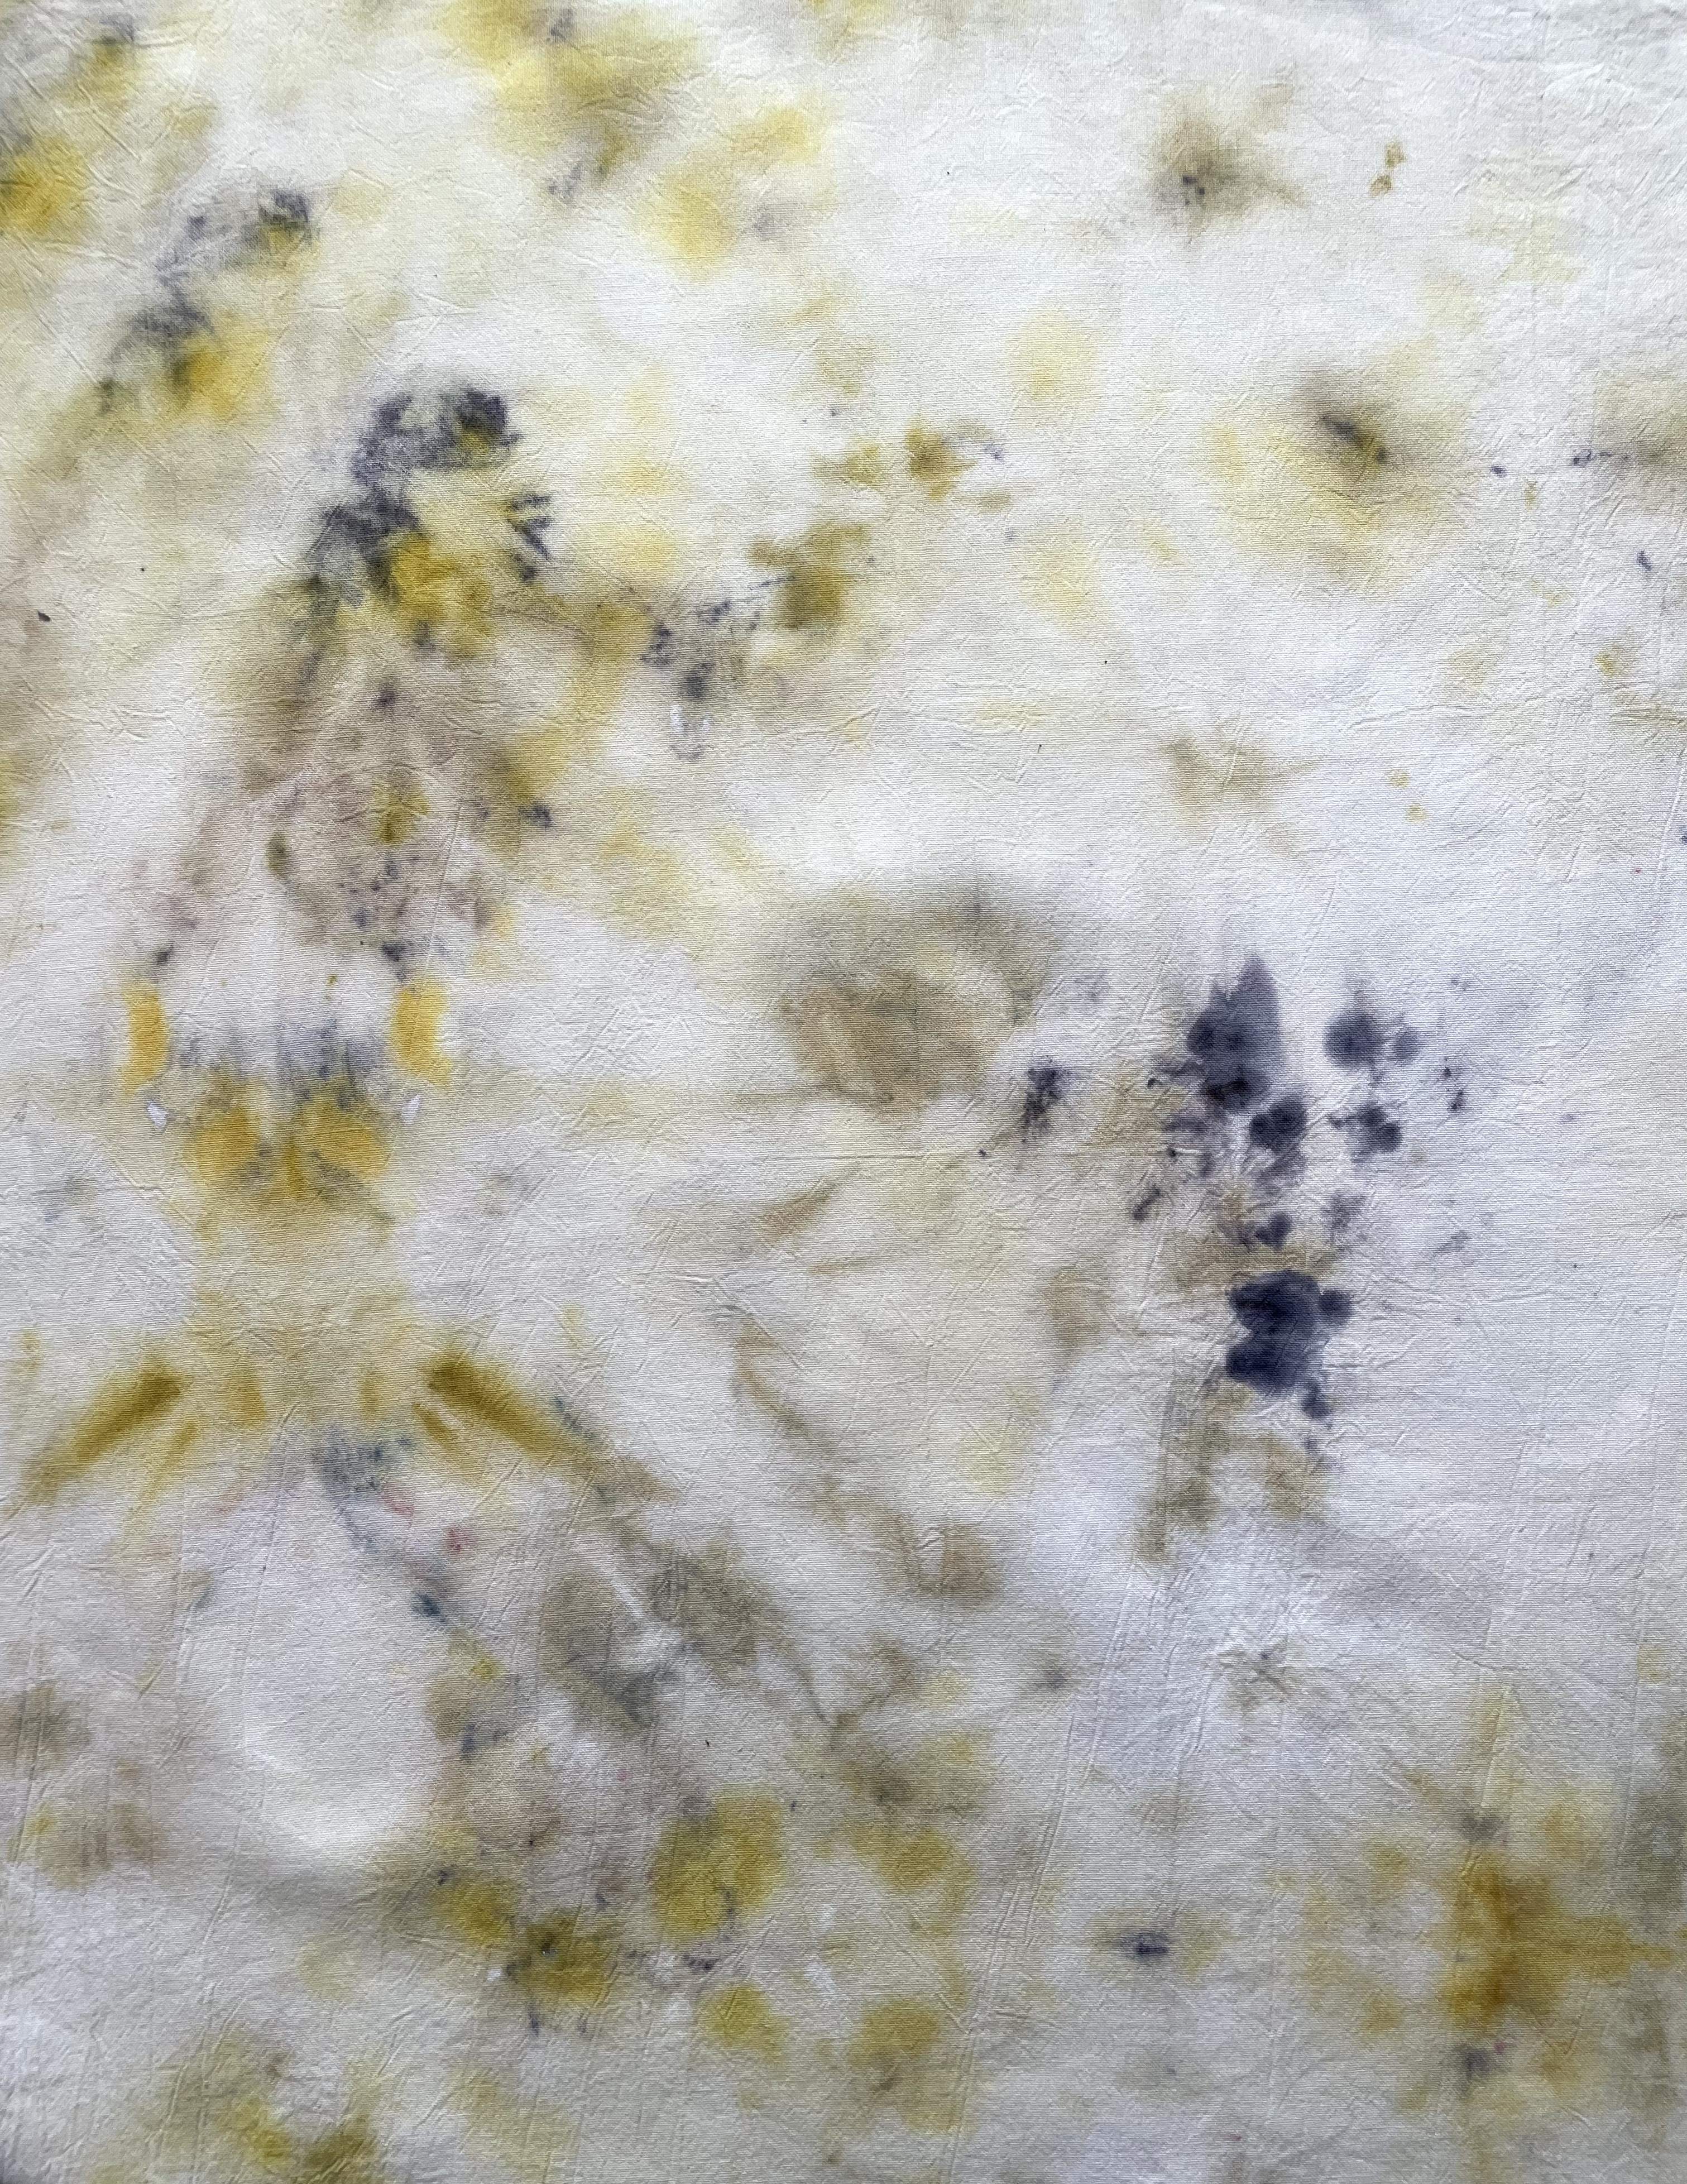
This piece has some nicely saturated yellows from the marigold. Some cool tones also show up from the indigo. It’s hard to say much about the global pattern on the piece, but I think it has some nice moments of composition when appropriately cropped. For example, I like this area cropped on the right above. There’s a fair amount of whitespace overall, which makes sense given the folding prepartion. It’s interesting to me that the indigo spots are so splotchy and localized (compared to the marigold), given how much of the indigo leaves I put on the piece. I’m guessing that this has more to do with the particularities of indigo in an ice dye setup than it does with the placement of the leaves. I am interested to try playing with indigo more.
Piece 4
This piece has the clearest global pattern which makes sense given the preparation. The marigold yellow is the punchiest color that comes through, though with a bit more of a green tint I suppose from the henna powder. There are a few moments of red here and there. I am not sure if I would keep the henna if I were doing this piece again, which makes sense in retrospect. I don’t love how it combines with the yellow, and it neutralizes with the red madder. I do like the pattern and contrast overall in this piece though; I think probably simpler is better as far as making legible global patterns, which makes sense. Not that that is necessarily the goal, but it seems useful to be aware of.
Conclusion
In general, this was an interesting experiment, and I am curious to try doing more in this vein. I am also wondering about what I might do with these pieces. I thought they might make decent lining fabrics for something like a bag. I also thought some might fit well in some sort of broader patchwork, along with other colors and textures. The larger pieces (3 and 4) also have a bit of transparency; they could maybe be made into something like a lampshade or curtain.